Picture this: a rainy Tuesday, the kind where the clouds look like someone pressed the pause button on the sun, and you’re stuck staring at a half‑finished tofu scramble that just won’t cooperate. I was desperate for comfort, but the only thing that could rescue the mood was a bowl of cheesy goodness that didn’t involve a single dairy product. I tossed a dare to my roommate—“I bet you can’t make a vegan mac that actually feels like a hug from your grandma.” She laughed, I laughed, and then the kitchen turned into a battlefield of pots, a blender, and a stack of uncooked elbow noodles.
The moment the pasta hit the boiling water, a faint, buttery perfume rose, reminding me of childhood movie nights where the soundtrack was the sizzle of cheese melting on a tray. As I whisked the cashew‑based sauce, the mixture transformed from a pale, soupy liquid into a velvety river that clung to each curve of the macaroni like a second skin. The sound of the whisk hitting the bowl was a rhythmic drumbeat, each stroke promising a richer, creamier finish. My hands felt the heat of the stove, the heat of anticipation, and I knew this was the turning point where ordinary becomes extraordinary.
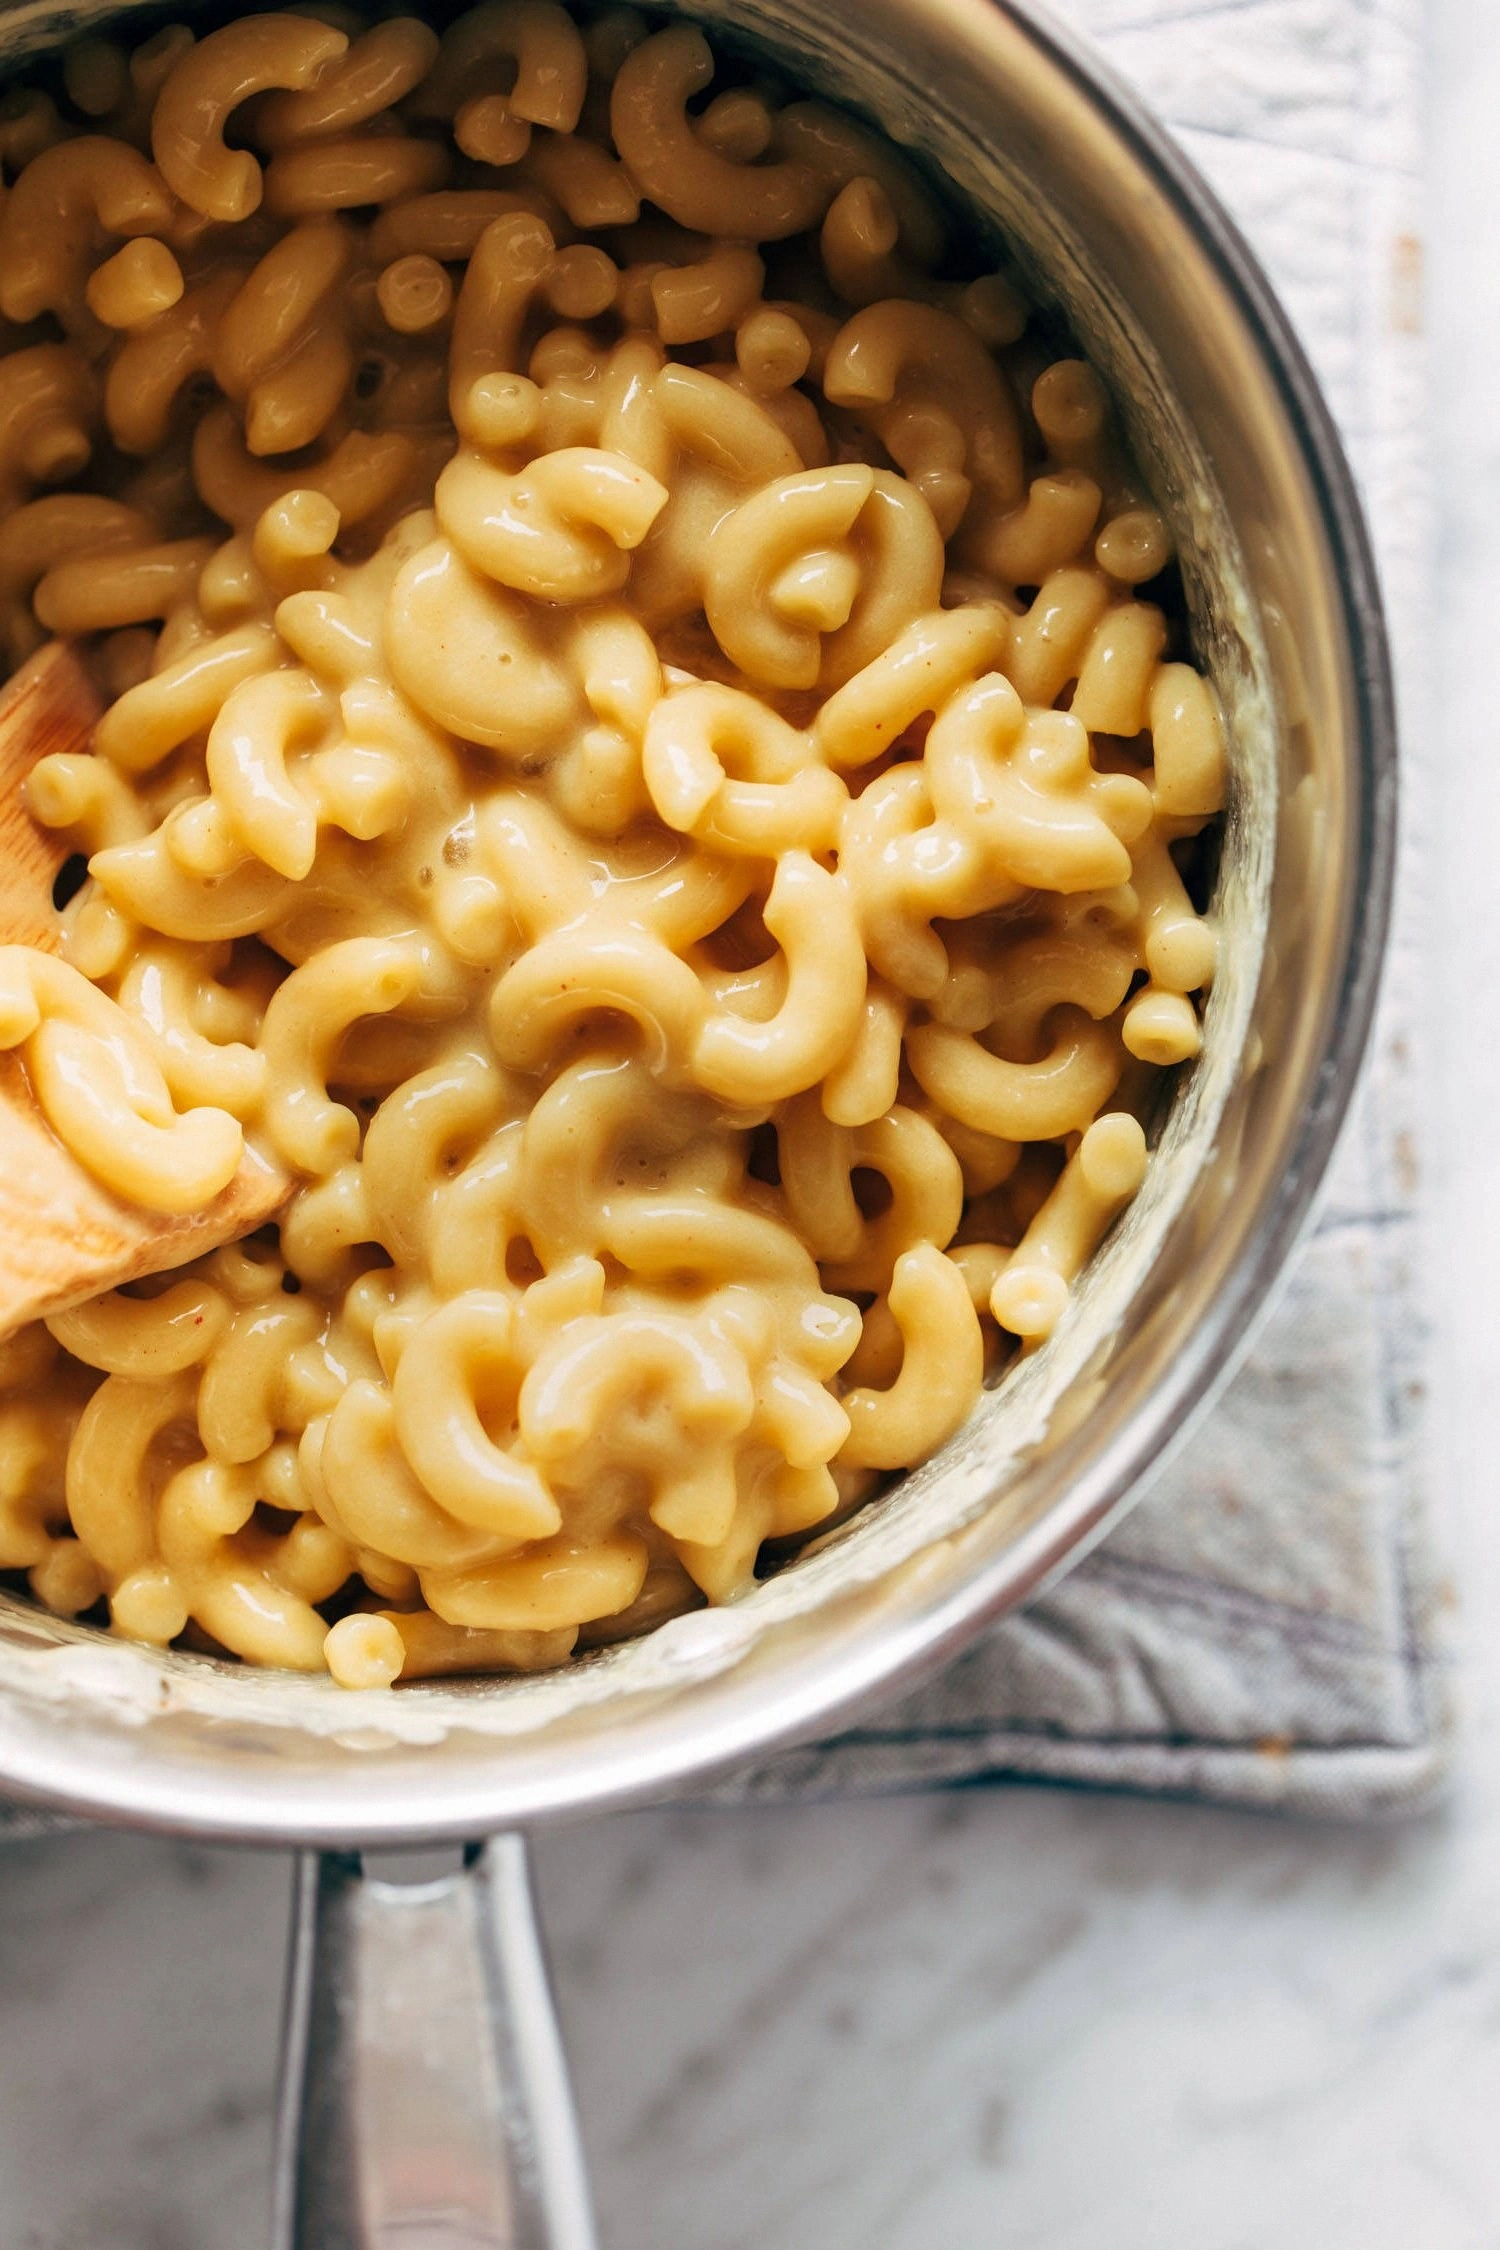
Most vegan mac‑and‑cheese recipes either skim the surface with a watery sauce or drown the noodles in a gloopy mess that never quite captures that nostalgic “cheese pull.” This version? Hands down the best version you'll ever make at home. It balances a deep, nutty umami from roasted cashews with the bright zing of lemon, all wrapped in a silky texture that coats the pasta like velvet. The secret? A splash of plant‑based milk and a flash of nutritional yeast that adds that unmistakable cheesy aroma without a single dairy ingredient.
And there’s a twist you won’t see coming: a crisp breadcrumb topping that shatters on your fork like thin ice, delivering a satisfying crunch that contrasts the creamy interior. I dare you to taste this and not go back for seconds. Let me walk you through every single step — by the end, you'll wonder how you ever made it any other way.
What Makes This Version Stand Out
- Flavor Explosion: The combination of roasted cashews, nutritional yeast, and a whisper of smoked paprika creates a depth that rivals dairy‑based sauces, delivering a smoky, cheesy punch in every bite.
- Silky Texture: By blending the cashews with plant milk and a touch of flour, the sauce achieves a buttery smoothness that clings to the pasta without being gummy.
- Simplicity: Only a handful of pantry staples are needed, and most of them are likely already in your cupboard, making this a weeknight hero.
- Unique Crunch: The breadcrumb topping, toasted in olive oil, adds a golden crust that shatters delightfully, giving the dish a restaurant‑level finish.
- Crowd‑Pleaser: Even the most skeptical meat‑eaters have confessed they can’t tell the difference, and they’ll be asking for the recipe again.
- Ingredient Quality: Using raw cashews instead of processed cheese powders ensures a clean, natural flavor that’s free from artificial additives.
- Make‑Ahead Magic: This sauce actually thickens as it sits, meaning you can prep it a day ahead for an even richer flavor profile.
Inside the Ingredient List
The Flavor Base
Cashews are the heart of this sauce. When soaked and blended, they become a buttery canvas that carries the umami of nutritional yeast and the tang of lemon juice. Skipping them would leave you with a watery, flavorless mess that never achieves that luxurious mouthfeel. If you’re allergic to nuts, try sunflower seeds—they’ll give a similar texture but a slightly earthier taste.
The Texture Crew
Flour and vegan butter form a roux, the classic foundation for any cheese sauce. The flour thickens, while the butter adds richness that prevents the sauce from feeling thin. Omit the butter, and you’ll notice a dry, grainy edge that screams “missing something.” For a dairy‑free twist, swap the butter for coconut oil, but be prepared for a faint coconut aroma.
The Unexpected Star
Nutritional yeast is the secret superhero delivering that unmistakable cheesy aroma. It’s a deactivated yeast packed with B‑vitamins and a nutty flavor that makes the sauce sing. Without it, you lose the “cheese” scent that makes everyone’s stomach growl. If you can’t find nutritional yeast, a tablespoon of miso paste can add depth, though it will shift the flavor toward umami rather than cheesy.
The Final Flourish
Breadcrumbs and olive oil create the golden crust that transforms this dish from comfort food to a culinary showstopper. The oil ensures even browning, while the breadcrumbs add a satisfying crunch. Skipping this step will leave you with a silky sauce but no textural contrast—think of it like a movie without a climax.
Everything's prepped? Good. Let's get into the real action...
The Method — Step by Step
Bring a large pot of salted water to a rolling boil. Add the elbow macaroni and cook until al dente, usually 8‑9 minutes. The water should taste like the sea—this is your first layer of flavor. Drain the pasta, reserving a cup of the starchy water, and set aside. The pasta will continue to absorb sauce later, so keep it warm.
While the pasta cooks, start the roux. Melt the vegan butter in a medium saucepan over medium heat. Once it sizzles, whisk in the flour, stirring constantly for about 2 minutes until it turns a light golden hue. This “toasting” step is crucial; it eliminates any raw flour taste and builds a nutty backbone.
Kitchen Hack: Use a whisk instead of a spoon; it creates a smoother roux and prevents lumps.Slowly pour the plant milk into the roux, whisking vigorously to avoid any lumps. The mixture should thicken within a minute, coating the back of a spoon. If it looks too thin, keep whisking; it will naturally reduce as it simmers. This is the moment of truth—listen for the gentle hiss that tells you the sauce is coming together.
Transfer the soaked cashews, nutritional yeast, garlic powder, onion powder, mustard, smoked paprika, lemon juice, and a pinch of salt into a high‑speed blender. Blend on high until the mixture is ultra‑smooth, resembling a thick cream. Taste and adjust salt or pepper; remember, the pasta will dilute the seasoning a bit later.
Combine the blended cashew mixture with the simmering milk‑roux. Stir continuously, and watch as the sauce transforms into a glossy, buttery river. Add a splash of the reserved pasta water—about ¼ cup—to loosen the sauce if it feels too thick. The sauce should coat the spoon without clinging too heavily.
Fold the cooked macaroni into the sauce, ensuring every curve is enveloped. At this point, the dish is creamy, but we’re not done yet. Transfer the whole mixture into a greased baking dish, spreading it out evenly.
In a small bowl, toss the breadcrumbs with olive oil until each crumb is lightly glossy. Sprinkle the breadcrumb mixture over the top of the macaroni, pressing gently to create an even layer. This step will give you that coveted golden crust that shatters like thin ice when you dig in.
Preheat your oven to 375°F (190°C). Slide the dish onto the middle rack and bake for 20‑25 minutes, or until the top is a deep amber and you can hear a faint crackle. The edges will start pulling away from the dish—a visual cue that the crust is perfectly crisp.
Watch Out: If you open the oven too early, the crust may deflate; trust the timer.Remove the dish from the oven and let it rest for 5 minutes. This short pause allows the sauce to settle, preventing a watery spill when you serve. While it rests, the aroma will fill your kitchen, making everyone wonder what you’ve been cooking all day.
Serve hot, straight from the dish, or scoop onto plates. For an extra touch, drizzle a tiny drizzle of truffle oil or sprinkle fresh chives. The first bite should deliver a creamy interior that gives way to a crispy crown—pure magic.
Kitchen Hack: Use a kitchen torch on the breadcrumb topping for an even faster, restaurant‑style caramelization.
That's it — you did it. But hold on, I've got a few more tricks that'll take this to another level...
Insider Tricks for Flawless Results
The Temperature Rule Nobody Follows
Never add the cashew blend to a scorching hot roux; a medium‑low heat keeps the sauce silky and prevents the cashews from “cooking” too hard, which can cause a grainy texture. I once turned the heat up too high, and the sauce turned into a gritty pudding—trust me, it’s not pretty. Keep the temperature steady, and you’ll get that perfect, glossy finish every time.
Why Your Nose Knows Best
The aroma of nutritional yeast sizzling with butter is your best indicator that the flavor is developing correctly. If you can’t smell that nutty, cheesy perfume, the sauce will taste flat. I’ve learned to pause and sniff before tasting—if the scent isn’t strong, add a pinch more yeast.
The 5‑Minute Rest That Changes Everything
Allowing the baked mac to rest for five minutes after it comes out of the oven lets the interior set, preventing it from spilling over the edges when you serve. This also gives the breadcrumbs a chance to firm up, ensuring that crunch stays intact. Skipping this rest will result in a soggy top and a sauce that slides off the plate.
Breadcrumb Brilliance
For the ultimate crunch, toast the breadcrumbs in a dry skillet first, then toss with olive oil. This adds an extra layer of caramelization that you can’t get from just baking. I once tried skipping the pre‑toast and the topping turned out limp—lesson learned.
Veggie Boost Without Overpowering
Finely grated carrots or cauliflower can be blended into the sauce for added nutrients and a subtle sweetness that balances the smoky paprika. Just be sure to blend them thoroughly; you don’t want any stray flecks that break the silkiness.
Creative Twists and Variations
This recipe is a playground. Here are some of my favorite ways to switch things up:
Spicy Sriracha Swirl
Mix in a tablespoon of sriracha into the sauce before baking for a gentle heat that cuts through the richness. Top with sliced jalapeños for extra kick. Perfect for anyone who loves a little fire with their comfort.
Green Goddess
Blend a handful of fresh spinach or kale into the cashew mixture for a vibrant green hue and a dose of iron. The earthy greens meld with the cheese flavor, creating a fresh, spring‑time vibe.
Smoky Chipotle
Swap the smoked paprika for chipotle powder and add a dash of liquid smoke. The result is a deep, smoky flavor that pairs beautifully with grilled vegetables on the side.
Truffle‑Infused Luxury
Stir in a teaspoon of truffle oil after baking, right before serving. The earthy aroma elevates the dish to gourmet status—ideal for a special dinner.
Protein‑Packed Power
Fold in a cup of cooked lentils or chickpeas before baking. The legumes add protein and a pleasant bite, making the dish heartier without sacrificing the creamy texture.
Cheesy Vegan Cheese Crumble
Top the breadcrumb crust with a handful of store‑bought vegan cheese shreds during the last five minutes of baking. The extra melt adds a stretchy, gooey layer for those who miss the classic cheese pull.
Storing and Bringing It Back to Life
Fridge Storage
Transfer leftovers to an airtight container and refrigerate for up to four days. The sauce will thicken as it cools, so reheat gently on the stovetop with a splash of plant milk to restore its creaminess.
Freezer Friendly
Portion the baked mac into freezer‑safe bags or containers, leaving a little headspace. Freeze for up to three months. When ready to eat, thaw overnight in the fridge, then bake at 350°F (175°C) for 15 minutes, covered with foil.
Best Reheating Method
For microwave reheating, add a tablespoon of water or plant milk per serving, cover loosely, and heat in 30‑second bursts, stirring in between. This steam trick revives the sauce, preventing it from turning rubbery.