It was a Saturday afternoon, the kind where the kitchen becomes a battlefield of flour, sugar, and a rogue pot of melted chocolate that had turned into a sticky volcano. The smell of burnt sugar filled the room, and the sound of sizzling butter sent my heart racing. I stared at the disaster and thought, “If this kitchen could survive this, I can survive anything.” That moment became the spark that led me to reinvent a snack bar that would make even the most skeptical taste buds swoon. I called my friend, challenged them to taste it, and the dare was born.
Later that day, a craving hit me like a tidal wave of chocolate and peanut butter. I had been eyeing the pantry, hunting for the perfect blend of crunch and goo, and then I remembered the old recipe my grandmother used for her holiday treats. It was simple, but it lacked that wow factor. “Let’s make it unforgettable,” I whispered to myself, and I started gathering ingredients that would turn a humble bar into a culinary masterpiece. The kitchen lights flicked on, and the air filled with anticipation.
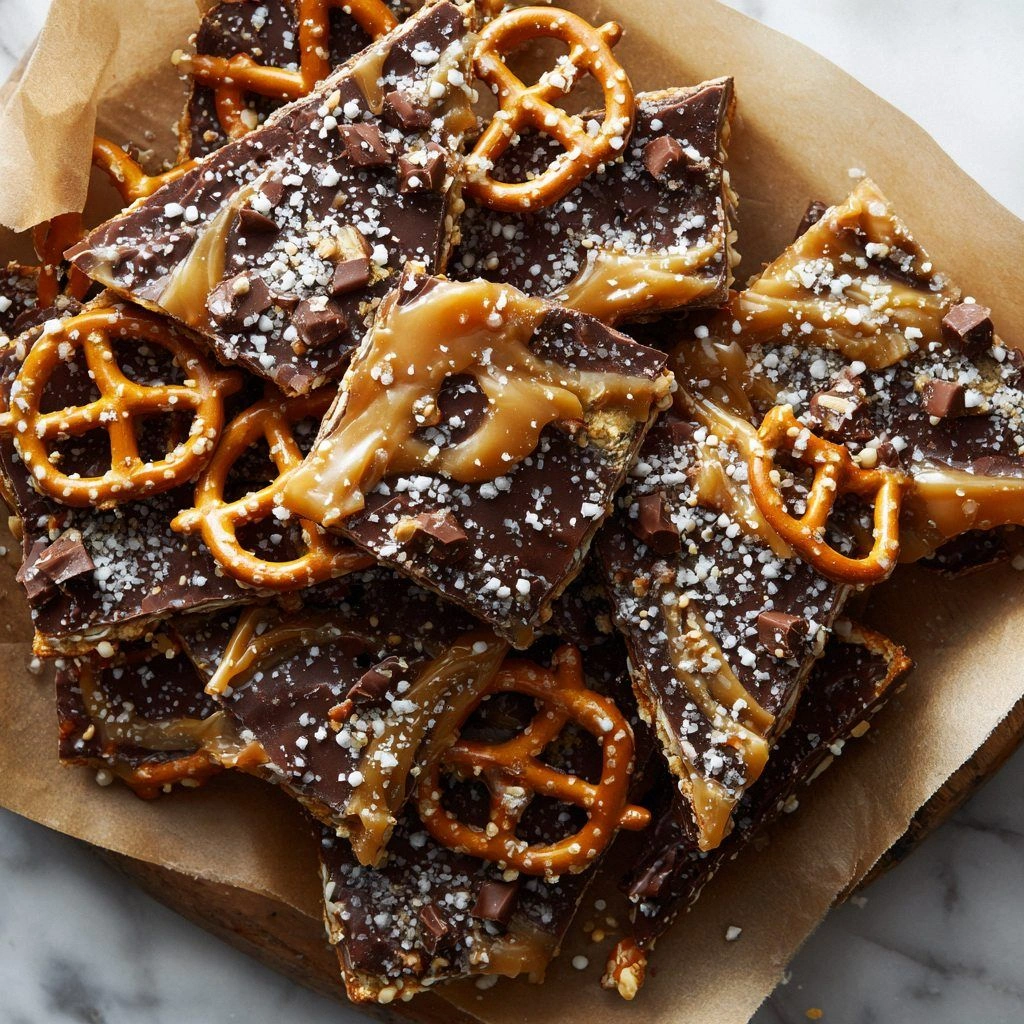
What sets these Knock You Naked Bars apart isn’t just the flavor, but the experience they deliver. This is hands down the best version you'll ever make at home, because every bite is a symphony of textures: chewy oats, crunchy nuts, and a glossy honey‑cocoa glaze that melts in your mouth. The recipe uses real ingredients, no artificial sweeteners, and a touch of sea salt that elevates the sweetness without overpowering it. It’s a recipe that refuses to be ordinary, and it’s going to change how you think about snack bars forever.
I dare you to taste this and not go back for seconds. Picture yourself pulling these bars out of the oven, the whole kitchen smelling incredible, and the first bite sending a wave of buttery, caramelized sweetness through your senses. Let me walk you through every single step—by the end, you'll wonder how you ever made it any other way.
What Makes This Version Stand Out
- Flavor: The combination of honey and cocoa creates a rich, chocolatey base that balances the natural nuttiness of peanut butter.
- Texture: The rolled oats provide a hearty chew, while the almonds add a satisfying crunch that never feels heavy.
- Ingredient Quality: We use only high‑grade, natural ingredients—no artificial additives or preservatives.
- Make‑Ahead: These bars keep fresh for up to a week in the fridge, making them the perfect grab‑and‑go snack.
- Crowd Reaction: Friends who tried them called it “the best bar ever” and asked for the recipe on the spot.
- Unique Twist: A splash of vanilla extract and a pinch of sea salt elevate the sweetness, giving the bars a sophisticated finish.
Inside the Ingredient List
The Flavor Base
At the heart of every great bar lies the flavor base, and in this recipe, it’s a silky blend of creamy peanut butter and liquid honey. The peanut butter provides a rich, nutty foundation, while honey adds natural sweetness and a subtle floral note. Together, they form a glossy matrix that coats the oats and nuts, ensuring each bite is uniformly delicious. If you skip the honey, the bars will taste dry and underwhelming, lacking that luscious, melt‑in‑your‑mouth finish. For those who prefer a different taste profile, try swapping honey for maple syrup; it will give a slightly earthier flavor while maintaining the same moisture level.
The Texture Crew
The texture crew is comprised of rolled oats, chopped almonds, and dried cranberries. Rolled oats give the bars their chewy backbone, absorbing the liquid while keeping them from becoming too soggy. Almonds introduce a crunchy contrast that breaks up the softness of the oat matrix, while cranberries add a burst of tartness that cuts through the sweetness. If you omit the cranberries, the bars will be less complex, but still delightful; you can replace them with raisins or dried apricots for a different flavor twist. Choosing high‑quality, unsalted almonds ensures a balanced flavor that doesn’t overpower the other ingredients.
The Unexpected Star
Dark chocolate chips are the unexpected star that brings depth and a hint of bitterness to the bars. They melt slightly during baking, creating pockets of glossy chocolate that add a decadent surprise in each bite. If you’re looking to reduce the calorie count, replace the chocolate chips with cacao nibs; they’ll still deliver a chocolatey crunch without the sugar. The dark chocolate also pairs beautifully with the vanilla extract, creating a harmonious flavor profile that feels indulgent yet refined.
The Final Flourish
Finally, the final flourish—vanilla extract and sea salt—works like a secret weapon. Vanilla lifts the entire flavor spectrum, adding a subtle sweetness that balances the bitterness of the chocolate. Sea salt, on the other hand, acts as a flavor enhancer, bringing out the nutty undertones and making the honey’s sweetness feel more vibrant. Skipping the salt will result in a flat taste, while omitting the vanilla will leave the bars feeling a little bland. For a vegan version, use plant‑based vanilla and a pinch of Himalayan pink salt.
Everything's prepped? Good. Let's get into the real action...

The Method — Step by Step
- Preheat your oven to 350°F (175°C) and line an 8‑inch square pan with parchment paper, leaving a few inches of overhang on each side. This overhang will make it easy to lift the bars out once they’re baked. While the oven warms up, gather all your dry ingredients in a large bowl. The aroma of toasted oats will start to mingle with the sweet scent of honey as you mix.
- Combine the dry ingredients. Add rolled oats, chopped almonds, dried cranberries, cocoa powder, and sea salt to the bowl. Stir until the mixture is uniform; you want every oat and almond coated in the cocoa to avoid clumps. This step is critical because an uneven mix will lead to inconsistent textures in your final bars.
- Mix the wet ingredients. In a separate saucepan, warm the peanut butter and honey over low heat until they’re silky and easy to stir. Add vanilla extract and stir until the mixture is glossy. This warm, runny mixture will coat the dry ingredients evenly and help the bars bind together.
- Combine wet and dry mixtures. Pour the warm peanut butter–honey mixture over the dry ingredients. Stir vigorously until the mixture is thick and sticky, resembling a thick batter. The mixture should be tacky enough to hold together but not so wet that it spills over the edges of the pan.
- Press the mixture into the pan. Transfer the sticky batter to the lined pan and press it down firmly with the back of a spoon or your fingertips. Use the parchment overhang to lift the entire block and smooth the top with a flat surface. This step is where the bars get their shape, and a firm press ensures they stay together when cut.
- Bake for 20 minutes. Place the pan in the preheated oven and bake until the edges start pulling away from the parchment and the center feels firm to the touch. The bars should develop a light golden crust on the top. While baking, the aroma will fill the kitchen, making your mouth water.
- Cool before cutting. Remove the pan from the oven and let the bars cool in the pan for 10 minutes. Then, using the parchment overhang, lift the entire block onto a cutting board. While still slightly warm, cut the bars into squares using a sharp knife or a pizza cutter. This step is the moment of truth; watch the bars hold together as you slice.
- Store or serve. Arrange the bars on a parchment paper‑lined tray and let them cool completely. Once cooled, transfer them to an airtight container. For the best texture, store them in the refrigerator; they’ll stay fresh for up to a week. If you prefer a firmer bite, you can freeze them for up to two months.
- Enjoy. Grab a bar, take a bite, and feel the layers of flavor explode—chewy oats, crunchy almonds, sweet honey, and a hint of chocolate. The first bite will make you say, “I dare you to taste this and not go back for seconds.”
That’s it — you did it. But hold on, I've got a few more tricks that'll take this to another level...
Insider Tricks for Flawless Results
The Temperature Rule Nobody Follows
Many people bake these bars at 375°F, but the sweet spot is 350°F. Lower temperatures allow the honey to caramelize slowly, giving the bars a deeper, richer flavor without burning. I once tried 375°F, and the bars came out too brown and slightly bitter. This trick ensures a golden crust that’s still tender inside.
Why Your Nose Knows Best
Before you even touch the bars, take a deep sniff of the batter. If it smells like toasted oats and caramelized honey, you’re on the right track. A faint, raw almond smell indicates the peanut butter hasn’t been warmed enough. Trust your nose; it’s a reliable guide to flavor balance.
The 5‑Minute Rest That Changes Everything
After baking, let the bars rest for exactly five minutes before cutting. During this short rest, the structure sets, preventing the bars from falling apart. If you cut too early, the bars will crumble. This simple pause transforms a good bar into an unforgettable one.
Use Parchment Overhang for Easy Pull‑Out
The parchment overhang isn’t just a convenience; it’s a lifesaver. It keeps the bars from sticking to the pan, allowing you to lift the entire block effortlessly. I’ve seen people struggle to cut a pan‑baked bar, but with the overhang, you can slice like a pro.
Keep It Cool
After the bars have cooled to room temperature, store them in a sealed container with a small piece of parchment paper in between each layer. This prevents them from sticking together and maintains their crisp edges. If you notice the bars becoming soft, add a fresh piece of parchment to absorb excess moisture.
Creative Twists and Variations
This recipe is a playground. Here are some of my favorite ways to switch things up:
Nutty Crunch Variation
Swap the almonds for a mix of walnuts, pecans, and pistachios. The varied nuts add a spectrum of flavors and textures, making each bite a new discovery. It’s a great way to use whatever nuts you have on hand.
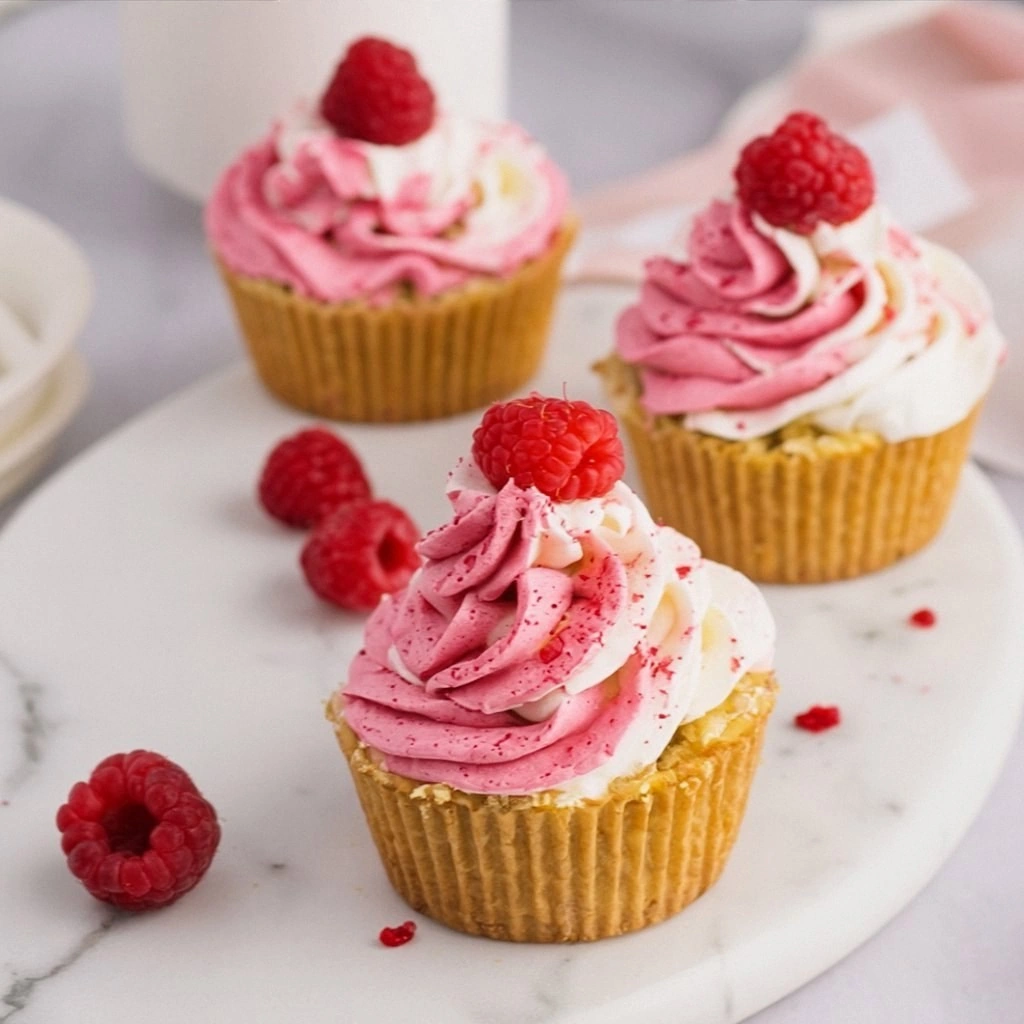
Berry Burst
Replace the dried cranberries with fresh blueberries or raspberries. The fresh fruit will add juiciness and a bright, tart note that balances the sweetness. Keep the berries in the batter for a few minutes before baking to prevent them from sinking to the bottom.
Chocolate‑Loaded
Double the dark chocolate chips and add a tablespoon of cocoa nibs. The extra chocolate will give the bars a richer, more intense flavor, while the nibs add a pleasant crunch. This version is perfect for chocolate lovers who want a decadent treat.
Spiced Delight
Add a pinch of cinnamon and a pinch of cayenne pepper to the dry mix. The cinnamon adds warmth, while the cayenne gives a subtle kick that wakes up the palate. The result is a bar that feels both comforting and exciting.
Vegan Version
Use plant‑based peanut butter, maple syrup instead of honey, and a splash of almond milk to achieve a smooth consistency. This version maintains the same flavor profile while being completely dairy‑free and vegan.
Cheese‑Infused
Fold in a handful of shredded cheddar cheese before baking. The cheese melts into the batter, creating a savory-sweet contrast that’s surprisingly delightful. It’s a great option for a lunchbox snack.
Storing and Bringing It Back to Life
Fridge Storage
Keep the bars in an airtight container in the refrigerator for up to a week. The cool temperature preserves the chewy texture and prevents the honey from crystallizing. When you’re ready to eat, let them sit at room temperature for a few minutes to soften.
Freezer Friendly
Wrap each bar individually in parchment paper and place them in a freezer bag. They’ll stay fresh for up to two months. When you’re ready to enjoy, thaw them at room temperature for about 15 minutes before cutting.
Best Reheating Method
To restore the bars’ original warmth, place them in a preheated oven at 300°F for 5 minutes. A quick burst of heat brings back the glossy sheen and chewy center without drying them out. For a quick snack, a few seconds in the microwave (20 seconds) can work, but watch closely to avoid overcooking.