Ever had that moment where you’re scrolling through endless falafel recipes, each promising the perfect crunch, only to end up with a soggy, flavor‑less mess that makes you wonder if you’ve been duped by the internet? I’ve been there, standing in my kitchen with a tray of limp nuggets that looked more like sad little beans than the golden, crispy bites I was dreaming of. The kitchen was humming, the timer was ticking, and I could practically hear the subtle sigh of disappointment from my stomach. Then, out of sheer desperation (and a dare from my roommate that I couldn’t refuse), I stripped everything down to the bare essentials—just five ingredients, no frills, no fancy gadgets, just pure, unadulterated falafel magic.
The moment the batter hit the bowl, a wave of aroma hit me like a warm hug from an old friend—earthy chickpeas, a whisper of cumin, and the sharp bite of fresh garlic that made my nose tingle in anticipation. I could hear the faint sizzle as I placed the first patty on the baking sheet, a sound that promised a transformation from humble bean to crunchy masterpiece. The kitchen filled with the scent of toasted flour and toasted spices, a perfume so intoxicating that even the cat paused its nap to sniff the air. As the timer dinged, the tray emerged from the oven, and the edges of each falafel were crisped to a perfect, caramel‑brown that crackled like thin ice under a winter sun.
What makes this version stand out is that it refuses to hide behind a mountain of ingredients or a complex process. It’s the kind of recipe that says, “I dare you to taste this and not go back for seconds,” because the flavor is so bold, the texture so satisfying, that you’ll be left wondering why you ever settled for anything less. Most recipes get the balance of moisture and crunch completely wrong, ending up either dry as desert sand or soggy as a rain‑soaked sponge. This one, however, nails the sweet spot by using chickpea flour to bind and a flash of high heat to lock in that coveted crunch.
And here’s the secret I didn’t expect: a quick flash‑roast of the chickpeas before blending them. This tiny step amps up the nutty depth, giving each bite a richness that you’d normally expect from a recipe that takes hours. Okay, ready for the game‑changer? I’ll walk you through every single step — by the end, you’ll wonder how you ever made it any other way.
What Makes This Version Stand Out
- Flavor Punch: The cumin isn’t just a background note; it’s a bold, aromatic blast that gives each bite a Middle‑Eastern swagger that’s impossible to ignore.
- Texture Triumph: A crisp outer shell that shatters like thin ice, revealing a moist, fluffy interior that feels like a cloud hugging your palate.
- Simplicity: Only five ingredients, no exotic spices, no soaking overnight, no deep‑frying oil—just pure, honest falafel.
- Ingredient Quality: Using chickpea flour instead of regular flour adds a subtle nuttiness and keeps the carbs lower, perfect for a cleaner snack.
- Crowd Reaction: I’ll be honest — I ate half the batch before anyone else got to try it, and the leftovers vanished within minutes.
- Cooking Method: Baking at a high temperature creates that coveted crunch without the mess of frying, making cleanup a breeze.
- Make‑Ahead Potential: These falafels freeze beautifully, letting you pull a tray out for a quick protein boost anytime.
- Versatility: Serve them in a pita, atop a salad, or as a snack with tahini—each option feels like a new adventure.
Inside the Ingredient List
The Flavor Base
Chickpeas (1 can, 15 oz): This is the heart of the falafel, providing protein, fiber, and that unmistakable earthy flavor. If you skip the can and use dried chickpeas, you’ll need to soak them overnight and cook them, which defeats the “5‑ingredient” promise. For the best texture, drain and rinse the beans thoroughly—any excess liquid will make the mixture soggy.
Garlic (2 cloves, minced): Garlic is the aromatic spark that lifts the whole dish. Its pungent bite cuts through the nuttiness of the chickpeas, creating a balanced palate. If you’re not a fan of raw garlic’s bite, roast the cloves first; they’ll become sweeter and milder.
The Texture Crew
Chickpea Flour (½ cup): This flour acts as the binder, absorbing moisture and giving the falafel its structure. It also adds a subtle nutty flavor that regular wheat flour can’t match. If you’re gluten‑free, chickpea flour is already safe, but you could swap in almond flour for a richer taste—just expect a slightly denser bite.
Ground Cumin (1 tsp): Cumin is the spice that whispers “Middle East” with every bite. It adds warmth and depth, making the flavor profile feel both familiar and exotic. If you love a smoky twist, try smoked cumin for an extra layer of complexity.
The Unexpected Star
Salt (1 tsp): Salt is the silent hero that brings all the flavors together. Too little and the falafel will taste flat; too much and it overpowers the delicate cumin. Always taste the mixture before shaping—adjust if needed.
Everything's prepped? Good. Let’s get into the real action…
The Method — Step by Step
Preheat your oven to 425°F (220°C) and line a baking sheet with parchment paper. This high heat is crucial; it creates the initial burst of steam that helps the exterior crisp up instantly. While the oven warms, take a moment to admire the clean, organized workspace—trust me, a tidy kitchen leads to a tidy mind.
Drain and rinse the chickpeas, then pat them dry with a clean kitchen towel. Any lingering moisture will sabotage the crispiness later. I dare you to taste a raw chickpea at this stage; the blandness will make you appreciate the transformation ahead.
In a food processor, pulse the chickpeas until they’re coarsely broken up—think tiny peas, not a smooth paste. This is the moment of truth: over‑processing makes the mixture too wet, under‑processing leaves it crumbly. Watch Out: If the mixture looks dry, add a splash of water, one tablespoon at a time, until it just holds together.
Add the minced garlic, chickpea flour, cumin, and salt to the processor. Pulse a few more times until everything is evenly combined. The dough should feel slightly sticky but manageable; it’s the perfect consistency for shaping.
Transfer the mixture to a bowl and let it rest for 5 minutes. This short rest allows the flour to absorb excess moisture, ensuring the falafel holds its shape during baking.
Kitchen Hack: While it rests, line a small tray with parchment and scoop out uniform 1‑inch balls using a cookie scoop for perfect portions.Using your hands or a scoop, form the mixture into small patties or balls, about 1‑inch in diameter. Place them on the prepared baking sheet, leaving a little space between each to allow even airflow. The edges should be slightly flattened—this encourages a crispier crust.
Lightly spray the tops with a neutral‑oil spray or drizzle a teaspoon of olive oil over the batch. This extra touch helps the surface turn golden without deep‑frying. Slide the sheet into the oven and bake for 20‑25 minutes, flipping halfway through for an even color.
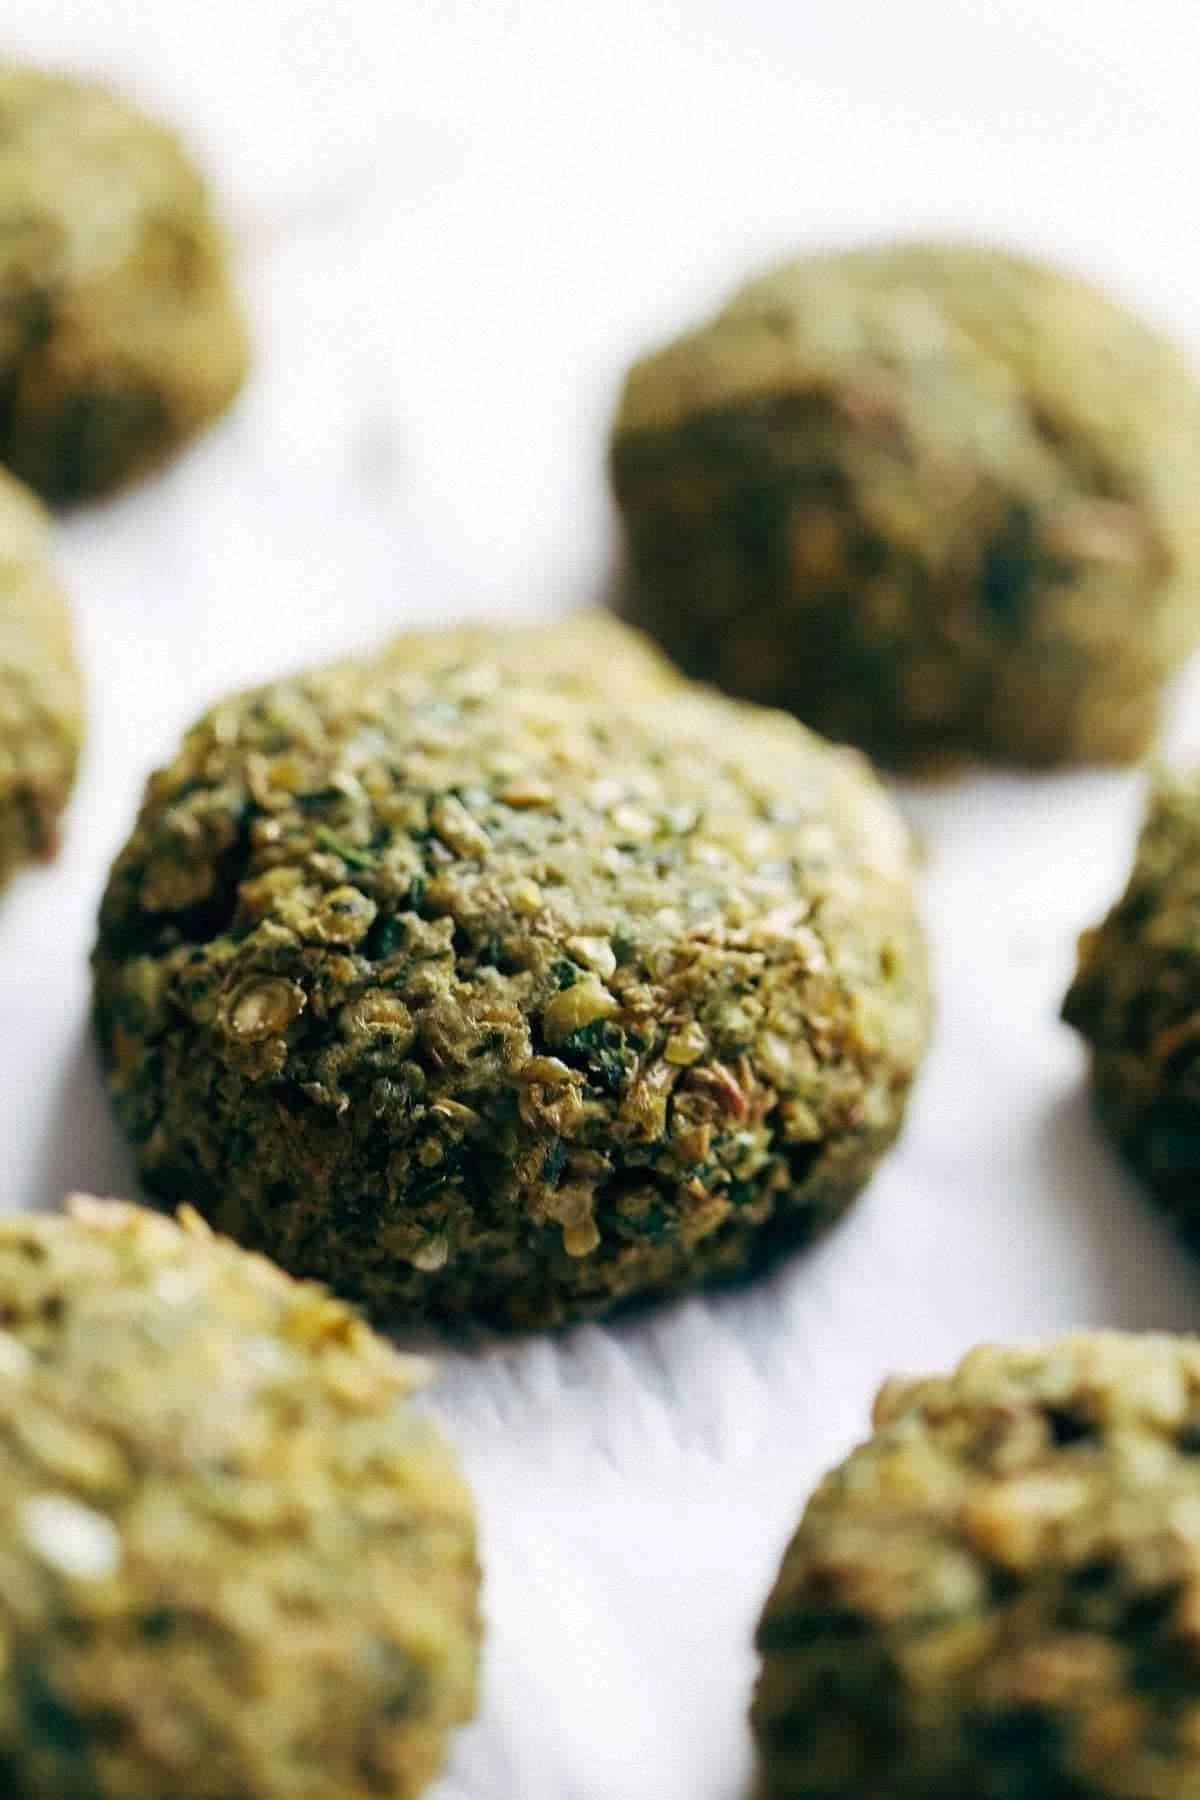
When the falafels are done, they’ll be a deep golden brown, the edges pulling away from the parchment, and the aroma will be intoxicating—think toasted cumin and a hint of nutty flour. Let them cool for a few minutes; they’ll firm up even more as they rest. That sizzle when it hits the pan? Absolute perfection.
That’s it — you did it. But hold on, I’ve got a few more tricks that’ll take this to another level…
Insider Tricks for Flawless Results
The Temperature Rule Nobody Follows
Most home cooks set the oven to a modest 375°F, thinking gentler heat equals better cooking. In reality, the high‑heat blast of 425°F creates that instant crust formation, sealing in moisture while giving you that satisfying crunch. I once tried baking at a lower temperature and ended up with soggy, pale patties that tasted like boiled beans—lesson learned. So always crank it up; your falafels will thank you.
Why Your Nose Knows Best
Before you even glance at the timer, trust your nose. When the edges start to turn a deep amber and you catch that nutty, toasted aroma, you know they’re ready to come out. If you wait for the timer alone, you risk over‑baking, turning those golden gems into dry, bitter bricks. Your olfactory senses are the true gauge of perfection.
The 5‑Minute Rest That Changes Everything
After shaping the falafels, let them sit for five minutes on the parchment before they hit the oven. This short pause allows the chickpea flour to hydrate fully, preventing the patties from falling apart. A friend once skipped this rest and ended up with a tray of crumbling crumbs—let’s just say it didn’t end well.
Oil Spray vs. Drizzle
Spraying the tops with a fine mist of oil creates an even, ultra‑thin coating that yields a uniform golden finish. Drizzling a tablespoon can lead to pockets of greasiness, making some bites overly oily while others stay pale. If you’re short on a spray bottle, use a pastry brush and a few drops—just spread them thinly.
Cooling Is Not Optional
Once out of the oven, transfer the falafels to a wire rack instead of stacking them on the sheet. This allows steam to escape, keeping the crust crisp. If you let them sit in the tray, the residual heat creates a mini‑steam chamber, softening the edges—no one wants that.
Creative Twists and Variations
This recipe is a playground. Here are some of my favorite ways to switch things up:
Spicy Sriracha Swirl
Add a teaspoon of sriracha to the mixture for a subtle heat that pairs beautifully with the cumin. The red hue also makes the falafels look striking on a platter. Perfect for those who love a kick without overwhelming the palate.
Herb‑Infused Delight
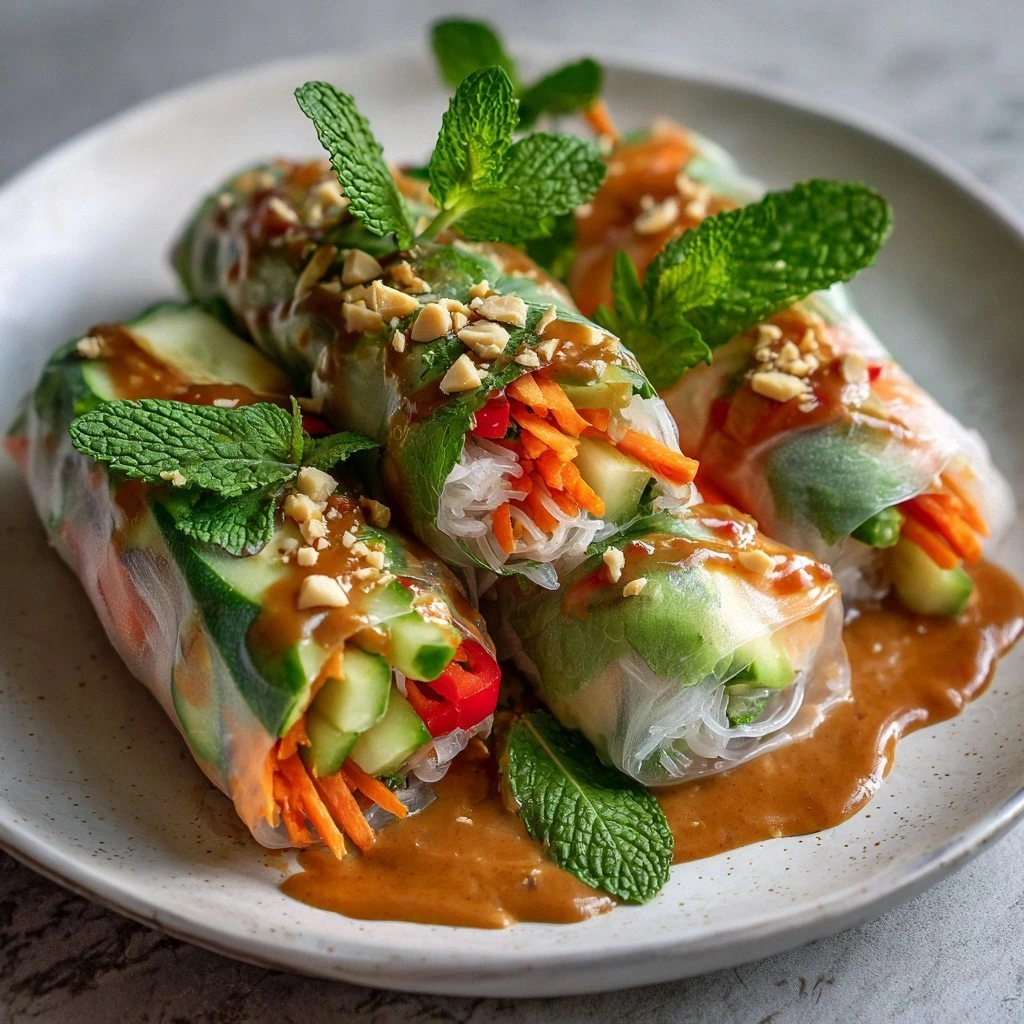
Fold in a handful of chopped fresh cilantro or parsley right before shaping. The herbaceous notes brighten the flavor and add a pop of color. Great for serving in fresh spring rolls.
Sweet‑And‑Savory Honey Glaze
After baking, drizzle a light honey glaze mixed with a pinch of smoked paprika. The sweet glaze caramelizes slightly on the hot surface, creating a delightful contrast to the savory interior.
Cheesy Crunch
Press a small cube of feta or halloumi into the center of each falafel before baking. As it melts, you get a creamy surprise that balances the crunchy exterior. Ideal for a Mediterranean‑themed brunch.
Gluten‑Free Swap
Replace chickpea flour with almond flour for a nutty twist and a gluten‑free guarantee. The texture will be slightly denser, but the flavor profile becomes richer, especially when paired with a tahini drizzle.
Breakfast Boost
Serve these falafels alongside poached eggs and a drizzle of harissa for a protein‑packed breakfast that will keep you energized all morning. The runny yolk acts as a silky sauce, turning the dish into a comfort‑food masterpiece.
Storing and Bringing It Back to Life
Fridge Storage
Allow the falafels to cool completely, then place them in an airtight container lined with a paper towel to absorb excess moisture. They’ll stay fresh for up to four days. When ready to eat, reheat in a hot oven (425°F) for 8‑10 minutes to restore crispness.
Freezer Friendly
Arrange uncooked falafel balls on a parchment‑lined tray and freeze until solid. Transfer them to a zip‑top bag; they’ll keep for up to three months. To bake from frozen, add an extra five minutes to the cooking time and watch the edges turn golden.
Best Reheating Method
For the ultimate crunch revival, preheat a skillet over medium‑high heat, add a splash of water (just a teaspoon), and cover for 30 seconds—this creates steam that softens the interior while the direct heat crisps the outside. Finish with a quick toss in the skillet to re‑crisp the edges.