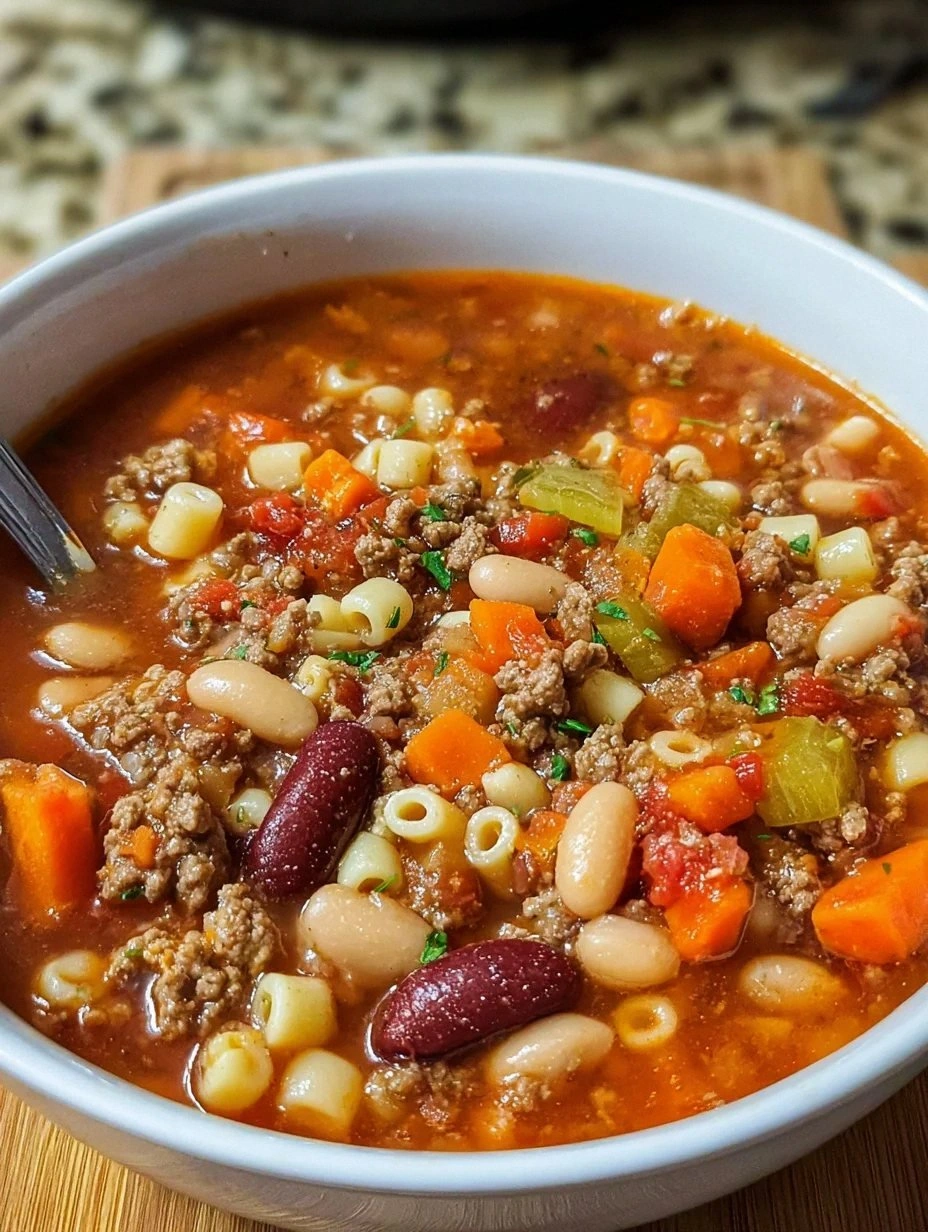
Okay, picture this: it’s a rainy Saturday, the kind that makes you want to curl up with a bowl of something comforting, but you also have a craving that’s louder than the thunder outside. I was stuck between a soggy sandwich and a boring baked chicken, and then my roommate dared me, “I bet you can’t make chicken tender that’s actually crunchy without deep‑frying.” I took that as a personal challenge, rolled up my sleeves, and set my trusty air fryer to work. The result? A plate of golden‑brown, crackly‑crusted chicken that sings louder than any storm, and I’m still hearing that applause every time I bite into it.
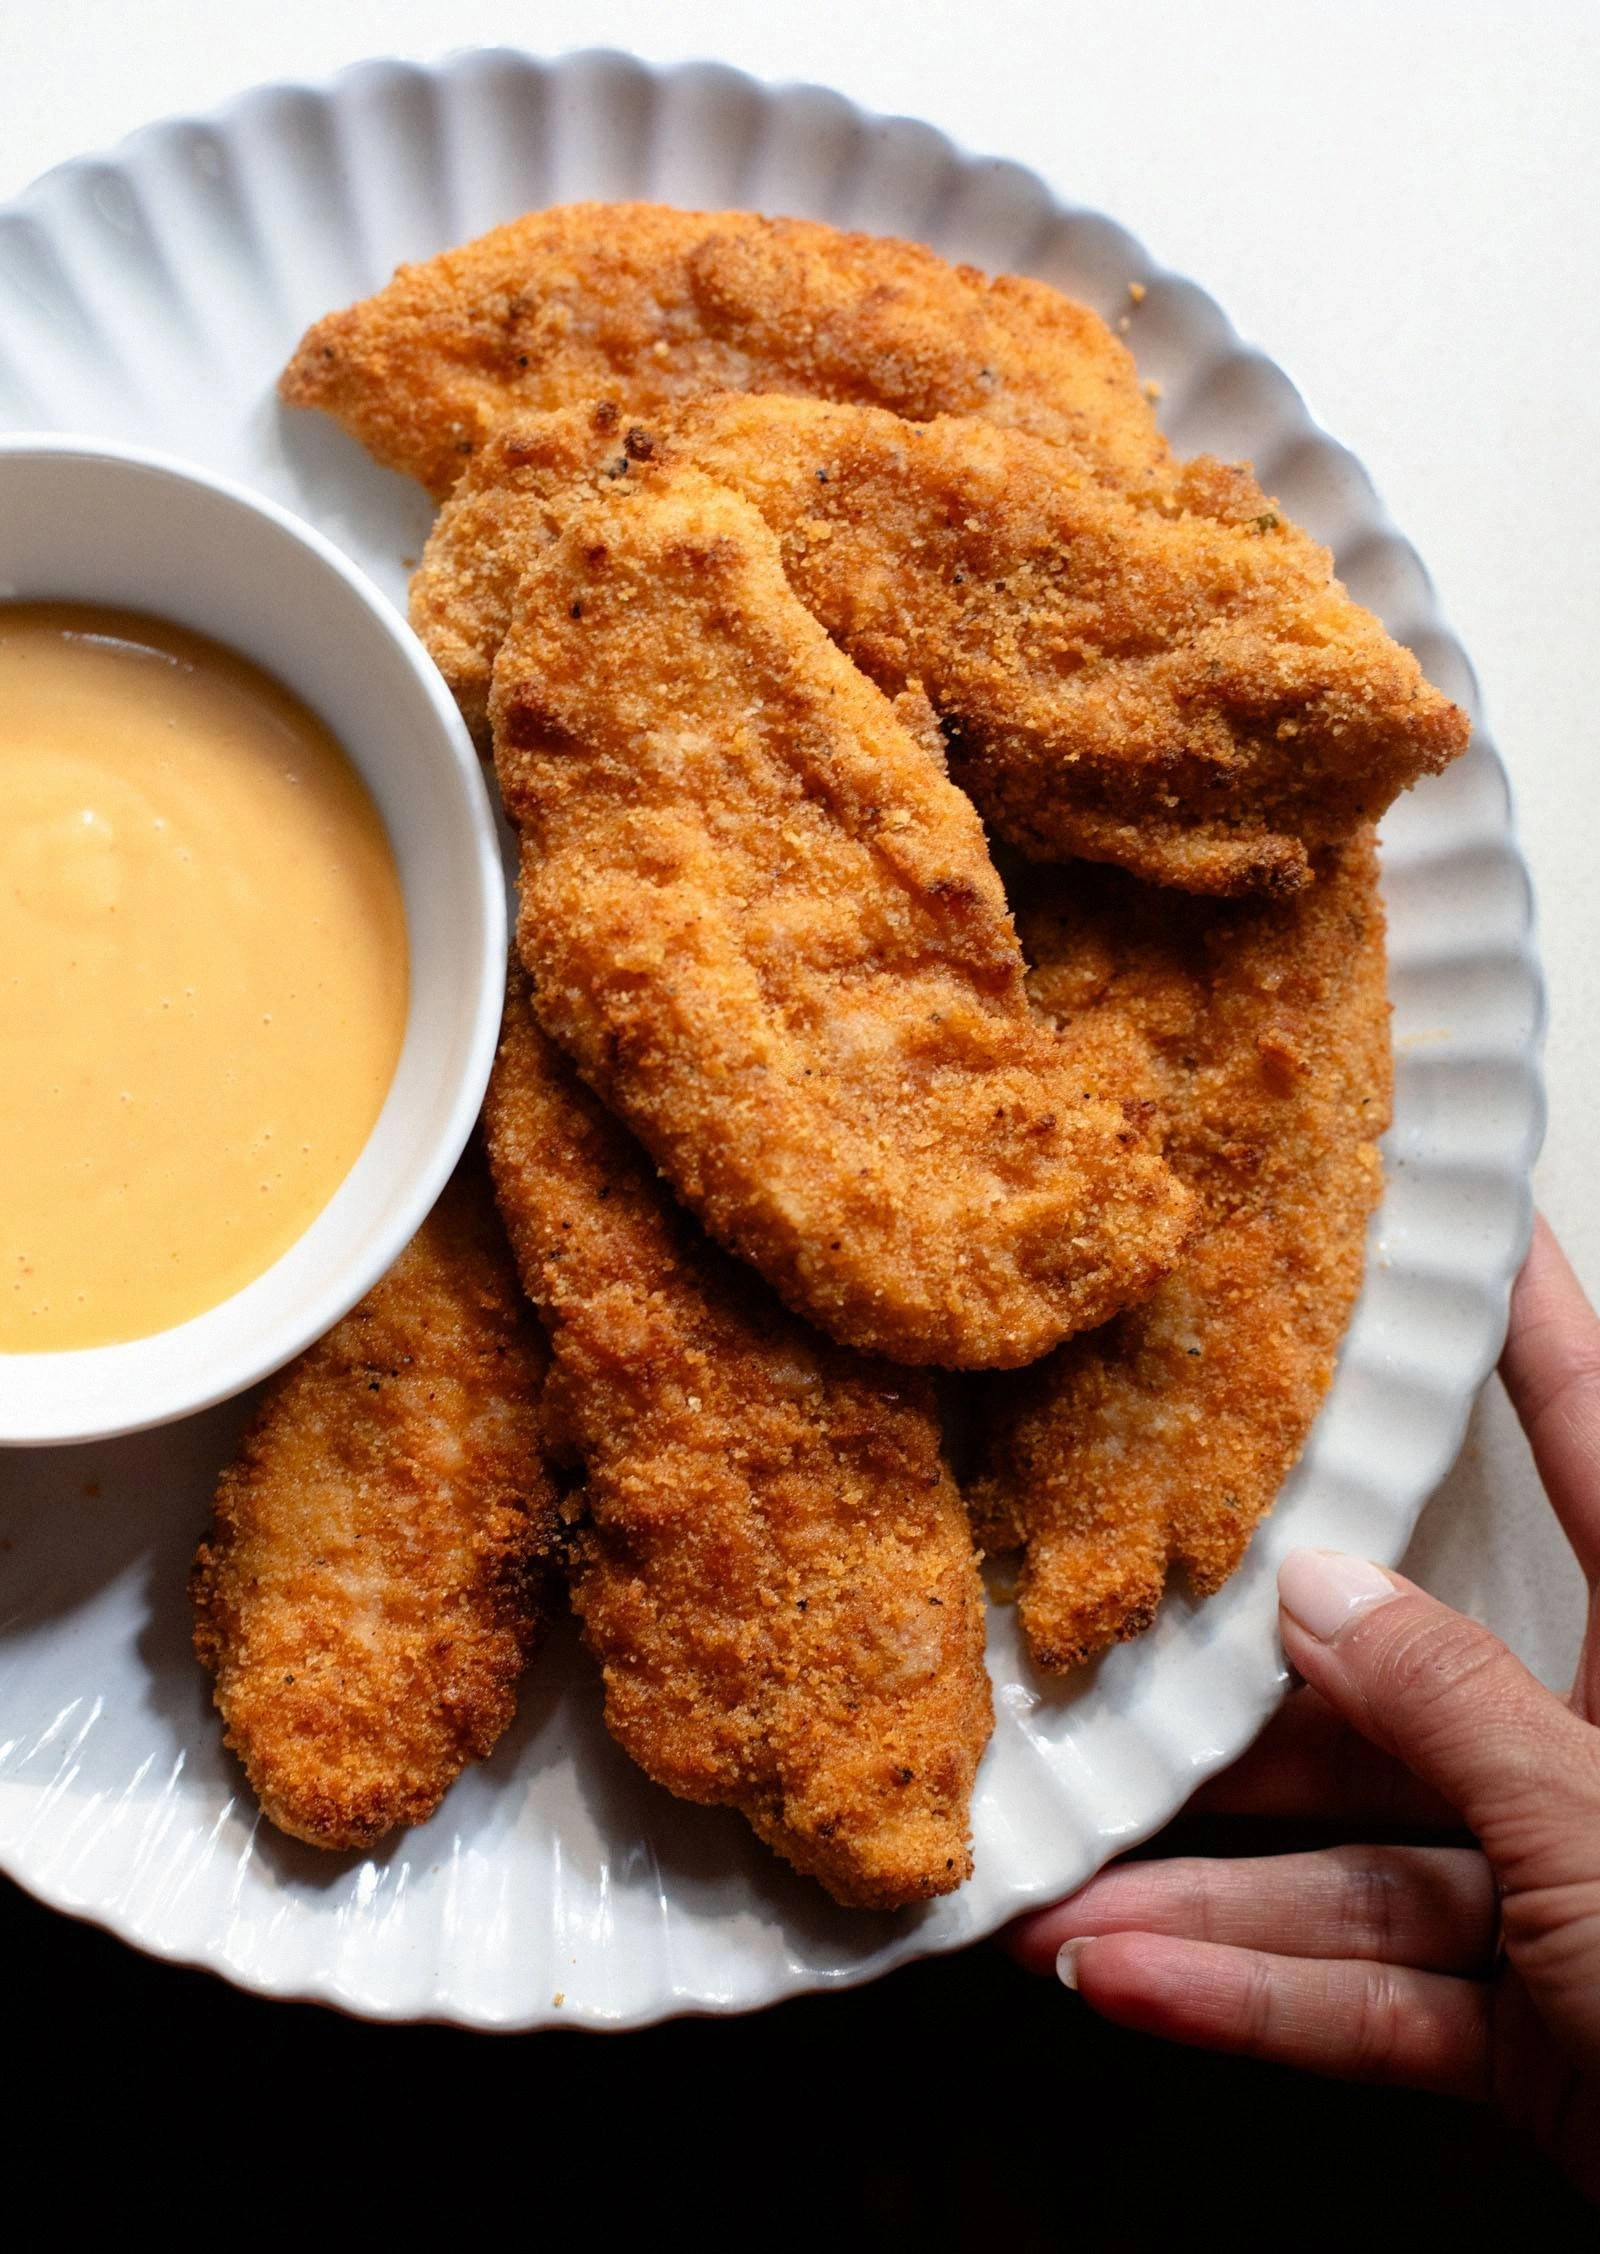
The first thing that hits you is the smell – a sweet, nutty aroma that rises from the basket like a warm hug, and the sound? A gentle sizzle that whispers, “We’re about to get crispy.” When you pull the tenders out, the steam lifts a cloud of buttery, herb‑infused goodness that makes the whole kitchen feel like a gourmet deli. The texture? Imagine biting into a thin sheet of ice that shatters delicately, only to reveal a juicy, tender chicken interior that’s practically melting in your mouth. The flavor? A balanced dance of smoky paprika, subtle garlic, and a hint of pepper that makes each bite unforgettable.
Most chicken tender recipes either drown the meat in a greasy coating or rely on a bland breadcrumb mix that leaves you wondering why you even bothered. This version, however, flips the script: I use a light dusting of seasoned flour, a double‑dip in egg, and a panko‑rich breadcrumb blend that’s toasted to perfection in the air fryer. The secret weapon? A quick spray of olive oil that creates a lacquered finish without the guilt of deep‑frying. I dare you to taste this and not go back for seconds – it’s hands down the best version you’ll ever make at home.
And here’s the kicker: I’m going to reveal a technique that most cooks overlook – a resting period for the coated chicken before it hits the heat. This tiny pause allows the seasoning to set, the coating to adhere, and the moisture to redistribute, guaranteeing that each tender stays crisp on the outside and succulent inside. Let me walk you through every single step – by the end, you’ll wonder how you ever made it any other way.
What Makes This Version Stand Out
- Flavor Explosion: A blend of paprika, garlic, and onion powder creates a smoky, aromatic crust that sings with every bite.
- Crispness Factor: Panko breadcrumbs give a light, airy crunch that shatters like thin ice, unlike heavy, soggy coatings.
- Healthier Choice: Air frying uses a fraction of the oil, delivering the same golden finish with far fewer calories.
- Speed and Simplicity: From prep to plate in under an hour, no deep‑fryer, no mess, just a single basket.
- Versatile Crowd‑Pleaser: Perfect as an appetizer, a game‑day snack, or a quick dinner paired with a salad or fries.
- Ingredient Quality: Fresh chicken tenderloins and high‑quality panko ensure every bite feels premium.
- Make‑Ahead Potential: You can coat and refrigerate the tenders for up to 2 hours before air frying, perfect for party prep.
- Cooking Method Mastery: The air fryer’s rapid air circulation gives an even, consistent browning you can’t achieve in a conventional oven.
Inside the Ingredient List
The Flavor Base
First up, the spice mix: paprika, garlic powder, onion powder, salt, and pepper. Paprika brings a smoky depth that feels like a summer BBQ, while garlic and onion powders add that familiar comfort note you expect from classic fried chicken. Salt amplifies every flavor, and a pinch of black pepper adds a subtle heat that keeps the palate awake. If you skip any of these, you’ll end up with a bland coating that lacks the signature zing. Want a twist? Swap half the paprika for smoked chipotle for a bolder, slightly spicy profile.
The Texture Crew
All‑purpose flour and panko breadcrumbs form the backbone of the crust. The flour creates a dry surface that helps the egg adhere, acting like a glue. Panko, unlike regular breadcrumbs, is larger and airier, giving that feather‑light crunch that makes the tenders feel gourmet. If you don’t have panko, you can pulse regular breadcrumbs in a food processor for a few seconds – just be careful not to over‑process, or you’ll lose that airy texture. Skipping the flour? The egg will slide right off, and you’ll end up with a soggy mess.
The Unexpected Star
Eggs are the secret liaison between the dry and the crunchy layers. They bind everything together, creating a glossy finish once they set in the heat. Using two large eggs ensures enough moisture to coat all the chicken without making it overly wet. If you’re vegan, a mixture of almond milk and a tablespoon of cornstarch works as a surprising stand‑in, though the texture will be slightly different.
The Final Flourish
Olive oil spray is the final brushstroke, giving the breadcrumbs a golden sheen while keeping the calorie count low. A light mist is all you need – too much turns the coating soggy, too little leaves it dry. For a richer flavor, you can use a spray of melted butter, but remember that butter burns faster, so keep an eye on the timer. A dash of dried oregano or thyme can be added here for an herbal lift that pairs beautifully with the smoky spices.
Everything’s prepped? Good. Let’s get into the real action – the part where you transform these humble ingredients into a plate that could headline a food‑show.
The Method — Step by Step
-
Start by preheating your air fryer to 400°F (200°C). This temperature is crucial; it creates that instant sizzle when the coating hits the hot air, sealing in moisture. While the machine warms up, line a large baking sheet with parchment and set a wire rack on top – this will be your resting station. The preheat takes about 3‑5 minutes, and you’ll hear a faint hum that signals the machine is ready. Okay, ready for the game‑changer?
-
In a shallow bowl, combine 1 cup of all‑purpose flour with 2 teaspoons of paprika, 1 teaspoon each of garlic powder and onion powder, 1 teaspoon salt, and ½ teaspoon black pepper. Whisk everything together until the spices are evenly distributed. This dry mixture is the first layer that will cling to the chicken, so make sure there are no clumps. Pro tip: Sift the flour if you notice any lumps – a smooth base means a smoother coating.
Kitchen Hack: Add a pinch of baking powder to the flour mixture; it creates tiny air pockets that boost crispiness. -
In a second bowl, beat 2 large eggs until they’re light and frothy. This lightness helps the coating stay airy rather than heavy. If you’re using the vegan alternative, whisk together 2 tablespoons almond milk with 1 tablespoon cornstarch until smooth. Dip each chicken tender (about 1 pound total) into the flour mixture, shaking off excess, then into the egg wash, and finally into 1 cup of panko breadcrumbs mixed with 1 tablespoon dried oregano. Press the breadcrumbs gently so they cling well.
-
Arrange the coated tenders on the wire rack you set up earlier. Let them rest for 5‑10 minutes; this isn’t a wasted moment, it’s the secret that keeps the breading from sliding off. During this pause, the flour‑egg‑breadcrumb sandwich solidifies, creating a barrier that locks in juices. If you’re in a hurry, you can speed up the rest by placing the rack in the fridge for a quick 5‑minute chill.
-
Give each tender a light spray of olive oil – just enough to mist the surface. The oil will caramelize in the hot air, turning the panko into a golden crown. Place the tenders in a single layer inside the air fryer basket; avoid overcrowding, as that would trap steam and make the crust soggy. Set the timer for 10 minutes, then flip the tenders halfway through for an even browning.
Watch Out: Opening the air fryer too often disrupts the airflow and can lead to uneven crisping. Trust the timer and only check at the halfway point. -
When the timer dings, the tenders should be a deep golden‑brown, with edges that start to pull away from the basket. Give them a quick sniff – you should smell toasted breadcrumbs and a hint of smoked paprika. If they’re not quite there, add another 2‑3 minutes; the extra time is the difference between “good” and “legendary.” Remember, the air fryer continues to cook briefly after you remove the basket, so a minute or two of rest is normal.
-
Transfer the cooked tenders to a clean plate and let them rest for 2 minutes. This short pause allows the juices to redistribute, ensuring each bite stays moist. While they rest, you can prepare a dipping sauce – a simple honey‑mustard, a spicy sriracha mayo, or even a cool ranch. The choice is yours, but I recommend a drizzle of lemon‑garlic aioli for a bright contrast.
-
Serve the tenders hot, straight from the basket, with your chosen sauce on the side. The contrast between the crunchy exterior and the tender, juicy interior is what makes this dish unforgettable. Picture yourself pulling this out of the air fryer, the whole kitchen smelling incredible, and your friends reaching for the second plate before you’ve even taken a bite. This is the moment of truth – and trust me, you’ve nailed it.
-
That’s it — you did it. But hold on, I’ve got a few more tricks that’ll take this to another level, from plating hacks to flavor‑boosting finishes. Stay with me here — this is worth it.
Insider Tricks for Flawless Results
The Temperature Rule Nobody Follows
Most home cooks set the air fryer to 375°F and wonder why the crust never gets that deep amber hue. The secret is to crank it up to 400°F (or even 410°F if your model allows). The higher heat creates a rapid Maillard reaction, giving you that caramelized crunch without drying the chicken. I once tried 350°F and ended up with a soggy coat that clung to the basket – a disastrous lesson that taught me the value of heat.
Why Your Nose Knows Best
Don’t rely solely on the timer; let your sense of smell be the secondary gauge. When the air fryer starts to emit a toasty, nutty scent, you’re approaching perfection. If the aroma shifts toward burnt sugar, pull the tenders immediately. This sensory checkpoint saved me from a batch of over‑cooked morsels that would have been a culinary tragedy.
The 5‑Minute Rest That Changes Everything
After the air fryer finishes, let the tenders sit for exactly five minutes on a cooling rack. This pause lets the coating set and the interior juices settle, preventing a soggy bottom. A friend once skipped this step, and the tenders were delicious but a bit too oily – the rest period is the unsung hero of texture.
Spray Smart, Not Heavy
When misting oil, use a fine‑mist setting and hold the spray bottle about 8 inches away. A thin veil is enough to create that glossy finish; a heavy coating will steam the breadcrumbs instead of crisping them. I’ve seen novices drown their chicken in oil, resulting in a greasy mess that defeats the purpose of air frying.
Batch Cooking Without Losing Quality
If you’re feeding a crowd, cook the tenders in batches but keep the finished ones warm in a low oven (200°F). This prevents them from getting soggy while you finish the rest. The key is to cover them loosely with foil so the steam doesn’t soften the crust.
Creative Twists and Variations
This recipe is a playground. Here are some of my favorite ways to switch things up:
Spicy Sriracha Crunch
Mix 1 tablespoon of sriracha into the panko before coating. The heat infuses the crust, delivering a tongue‑tingling kick that pairs perfectly with a cool cucumber dip. Ideal for those who love a little fire.
Herb‑Infused Parmesan
Stir ¼ cup grated Parmesan and 1 teaspoon dried thyme into the breadcrumb mix. The cheese adds a nutty richness, while thyme introduces an earthy aroma. Great for a more sophisticated palate.
Coconut‑Lime Fusion
Replace half the panko with unsweetened shredded coconut and add a teaspoon of lime zest to the flour blend. The result is a tropical crunch with a citrusy zing that’s perfect for summer gatherings.
Gluten‑Free Glory
Swap all‑purpose flour for a 1:1 gluten‑free flour blend and use gluten‑free panko crumbs. The texture remains just as light, and you can serve these to anyone with gluten sensitivities without compromising flavor.
Sweet‑Honey Glaze
After cooking, brush the tenders lightly with a mixture of honey and a dash of smoked paprika, then return them to the air fryer for an extra minute. The glaze caramelizes, giving a sweet‑savory finish that’s irresistible.
Buffalo‑Style Heat
Toss the hot tenders in a bowl of melted butter mixed with hot sauce (1:1 ratio). The coating absorbs the sauce, creating a classic Buffalo flavor without the soggy mess. Serve with blue cheese dressing for the full experience.
Storing and Bringing It Back to Life
Fridge Storage
Place cooled tenders in an airtight container lined with a paper towel to absorb excess moisture. They’ll stay crisp for up to 3 days. When you’re ready to eat, reheat in the air fryer at 350°F for 3‑4 minutes.
Freezer Friendly
Lay the cooked tenders on a parchment sheet, freeze until solid (about 1 hour), then transfer to a zip‑top bag. They’ll keep for up to 2 months. To reheat, pop them straight into the air fryer at 375°F for 6‑8 minutes – no thawing required.
Best Reheating Method
The secret to reviving that crunch is a quick splash of water – just a teaspoon per batch – before reheating. The steam generated prevents the meat from drying out while the air fryer restores the golden crust. This trick works whether you’re reheating from the fridge or freezer.