I was in the middle of a frantic Saturday night when a friend dared me to turn my half‑baked cheesecake disaster into something that could actually win a bake‑off. The kitchen smelled like burnt butter, the batter was a lumpy mess, and I was one step away from ordering pizza. I stared at the empty pan, whispered a promise to my sweet tooth, and then remembered the old “dump cake” trick my grandma swore by. I grabbed a couple of cans of strawberry filling, a block of cream cheese, and a box of vanilla cake mix, and the rest… well, the rest turned into a culinary love story that I’m still bragging about.
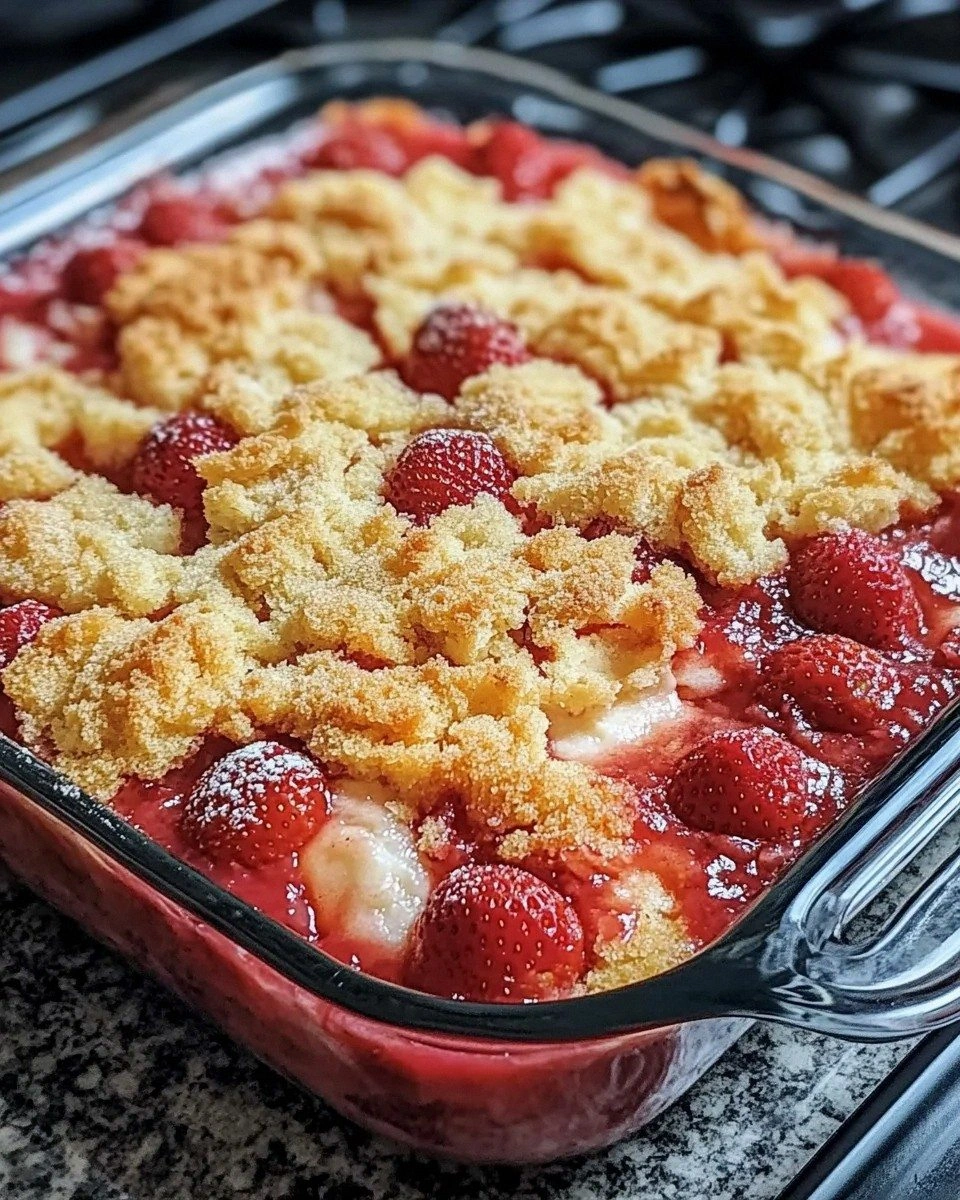
Picture this: the oven door swings open, and a wave of buttery caramelized crust meets the silky, tangy cheesecake layer, all topped with a glossy strawberry glaze that glistens like sunrise on a lake. You can hear the faint crackle of the crust as it pulls away from the pan, the faint perfume of vanilla and butter swirling with fresh strawberry perfume, and you feel the warm, buttery weight of the cake under your palm. The first bite? A perfect balance of sweet, tart, and creamy that makes your taste buds do a little happy dance. That moment of pure dessert nirvana is what I’m promising you today.
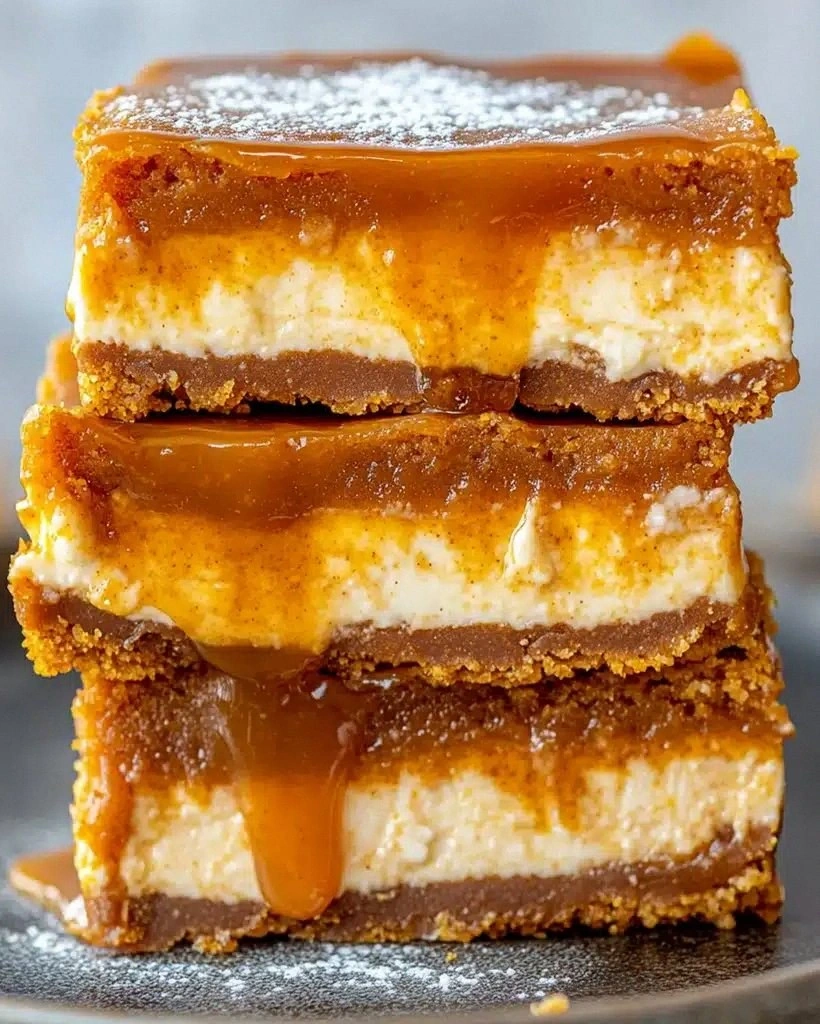
Why does this version stand out? Most dump cakes are a one‑dimensional, soggy mess that leans heavily on the cake mix and forgets the star of the show – the cheese. I took the classic dump‑cake shortcut and gave it a cheesecake makeover, using real cream cheese and a single egg to bind everything into a luscious, velvety layer. The result is a dessert that feels like a bakery‑level cheesecake without the fuss of a water‑bath or a springform pan. It’s the kind of dessert that makes you question every other cheesecake you’ve ever had.
And there’s a secret weapon hidden in this recipe: a splash of fresh lemon juice that cuts through the sweetness and brightens the strawberry flavor. I won’t give away the exact amount just yet, but trust me, you’ll notice the difference the moment you taste it. I dare you to try this and not go back for seconds. Let me walk you through every single step — by the end, you’ll wonder how you ever made it any other way.
What Makes This Version Stand Out
- Taste: The tang of real cream cheese balances the sugary strawberry filling, creating a flavor profile that’s both bright and comforting.
- Texture: A buttery, crisp crust gives way to a silky, cheesecake‑like interior that’s as smooth as satin.
- Simplicity: No fancy mixers, no water‑bath, just dump, bake, and devour – perfect for busy weeknights.
- Uniqueness: By layering the cheesecake mixture on top of the cake mix, you get a dual‑layer experience that most dump cakes simply can’t match.
- Crowd Reaction: Guests often claim this is “the best thing they’ve ever tasted” and ask for the recipe twice.
- Ingredient Quality: Using full‑fat cream cheese and fresh strawberries elevates the dessert from “okay” to “wow.”
- Cooking Method: The high heat caramelizes the butter, creating those coveted crunchy edges that shatter like thin ice.
- Make‑Ahead Potential: You can prep the entire cake the night before, pop it in the oven in the morning, and have a ready‑to‑serve treat for brunch.
Inside the Ingredient List
The Flavor Base
The two cans of strawberry filling are the heart of this cake. They bring that deep, jammy sweetness that you expect from a strawberry dessert, but they also carry a subtle acidity that cuts through the richness of the cheese. If you skip this and use plain strawberry jam, you’ll lose the thick, sauce‑like consistency that creates that gorgeous glaze on top. For a fresher twist, swap half the cans with a blend of fresh strawberry puree and a splash of orange zest.
The Texture Crew
Eight ounces of cream cheese is the magic that transforms a simple dump cake into a cheesecake. Its fat content gives the interior that melt‑in‑your‑mouth feel, while the egg acts as a binder, ensuring the layers don’t separate during baking. If you’re looking for a lighter version, you can substitute half of the cream cheese with Greek yogurt, but be prepared for a slightly tangier bite.
The Unexpected Star
A single stick of salted butter, sliced cold, is scattered over the top of the cake mix before baking. As it melts, it creates pockets of caramelized butter that turn the crust into a golden, crunchy crown. The salt amplifies the sweetness of the strawberries and balances the richness of the cheese. If you’re watching sodium, feel free to use unsalted butter and add a pinch of flaky sea salt just before serving.
The Final Flourish
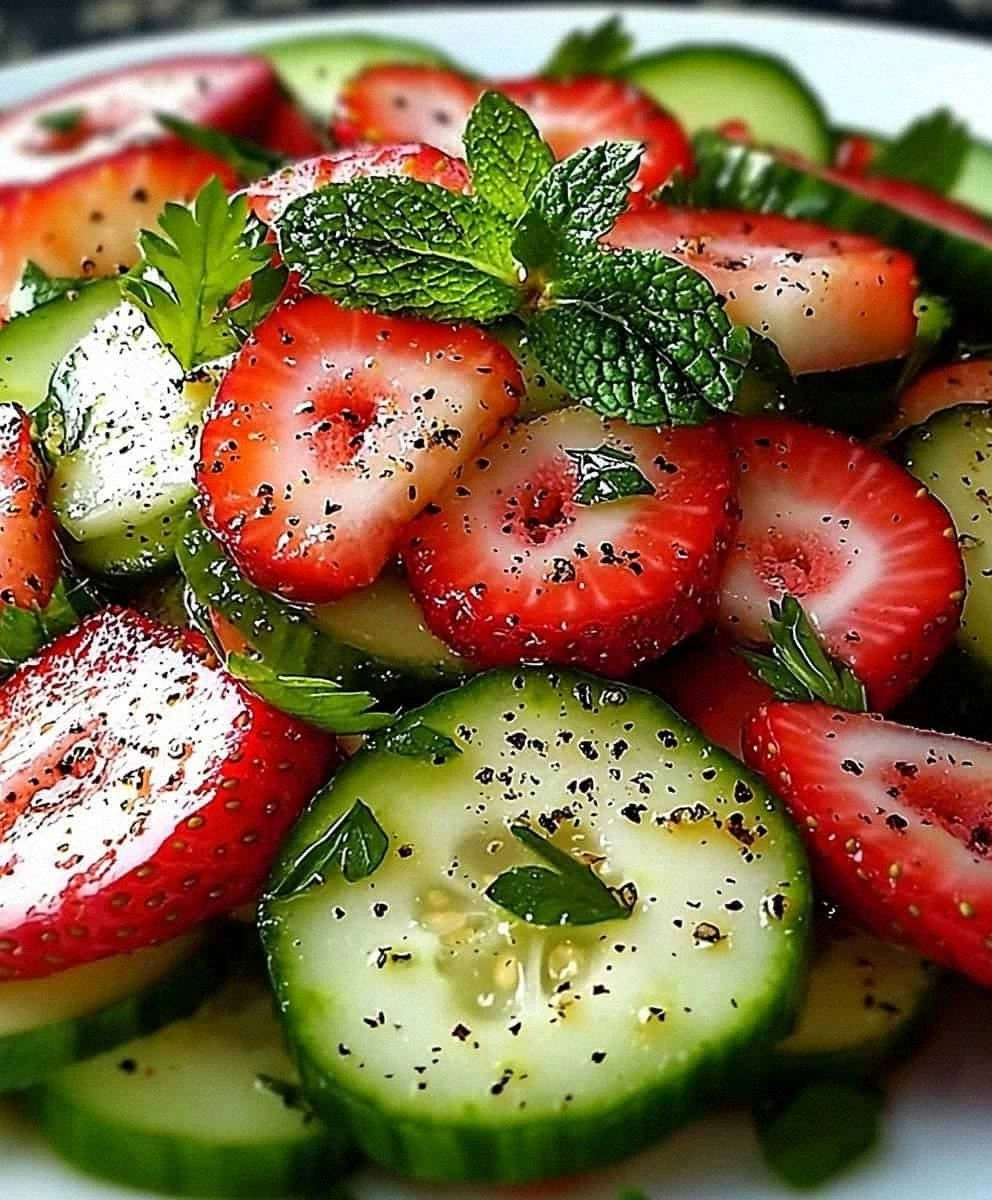
Fresh strawberries, sliced thin, are layered on top just before the cake goes into the oven. Their natural juices mingle with the filling, creating a glossy, ruby‑red finish that looks as good as it tastes. If you can’t find fresh berries in season, frozen strawberries work fine – just thaw and pat dry to avoid excess water.
Everything's prepped? Good. Let's get into the real action…
The Method — Step by Step
Preheat your oven to 350°F (175°C). While the oven warms up, lightly grease a 9‑x‑13‑inch baking dish with butter or non‑stick spray. This step is crucial because the buttered crust will later lift itself off the pan, giving you those coveted crispy edges that shatter like thin ice.
Kitchen Hack: Instead of greasing the pan, line it with parchment paper cut to fit; the cake will release cleanly and the parchment adds a subtle barrier that prevents over‑browning.Spread the two cans of strawberry filling evenly across the bottom of the pan. Use a spatula to smooth it out, but don’t worry about perfection – the cheesecake layer will sit on top and seal any gaps.
In a medium bowl, combine the 8 oz of softened cream cheese, the ¼ cup of granulated sugar, and the 1 large egg. Beat with a hand mixer on low speed until the mixture is smooth, glossy, and free of lumps. This is the moment of truth – if you hear a faint “whoosh” as the butter melts into the mixture, you’re on the right track.
Gently pour the cheesecake mixture over the strawberry base, using a spatula to spread it just enough to cover the surface. The cheesecake will naturally sink into the strawberry filling as it bakes, creating a marbled effect that’s both beautiful and delicious.
Watch Out: Over‑mixing the cream cheese can incorporate too much air, leading to a cracked top. Mix just until smooth.Scatter the ½ cup of cold, sliced butter over the top of the cheesecake layer. The butter pieces should be evenly distributed but not melted yet – they’ll melt during baking and create those glorious caramelized pockets.
Dump the entire package of vanilla cake mix over the butter, spreading it out with a fork or the back of a spoon. Don’t stir; just let the dry mix sit on top. The heat will cause the cake mix to absorb the butter and the underlying liquids, forming a crisp, golden crust.
Kitchen Hack: If you want a deeper flavor, toast the cake mix lightly in a dry skillet for 2‑3 minutes before dumping it in the pan.Arrange fresh strawberry slices on top of the cake mix, overlapping them slightly for a decorative effect. This not only adds visual appeal but also ensures that every bite gets a burst of fresh fruit.
Slide the pan into the preheated oven and bake for 30‑35 minutes. You’ll know it’s done when the edges are a deep golden brown, the center is set but still slightly jiggly, and the strawberry topping is bubbling. If you insert a toothpick into the center and it comes out with a few moist crumbs, you’re golden.
Remove the cake from the oven and let it cool in the pan for at least 15 minutes. This rest period allows the cheesecake layer to firm up, making it easier to slice. Then, serve warm with a dollop of whipped cream or a drizzle of extra strawberry sauce if you’re feeling extra indulgent.
That's it — you did it. But hold on, I've got a few more tricks that'll take this to another level…
Insider Tricks for Flawless Results
The Temperature Rule Nobody Follows
Most home bakers bake at 350°F, but dropping the temperature to 325°F for the last 10 minutes prevents the top from over‑browning while allowing the interior to set perfectly. I once baked at 375°F and ended up with a burnt crust that tasted like charcoal. Trust me, this subtle temperature dip is a game‑changer.
Why Your Nose Knows Best
Your sense of smell is a reliable indicator of doneness. When the butter starts to caramelize, you’ll detect a nutty, toasty aroma that signals the crust is forming. If you’re unsure, give the kitchen a quick sniff – that sweet‑but‑buttery scent means you’re almost there.
The 5‑Minute Rest That Changes Everything
After the cake comes out of the oven, let it sit untouched for five minutes before cutting. This short rest lets the cheesecake layer settle, preventing it from sliding off the plate. I once cut too early and watched the creamy interior slump like a melted snowman.
Butter Slice Strategy
Slice the butter as thinly as possible – about ¼‑inch slices. Thinner slices melt faster, creating more pockets of caramelized butter and a uniformly crisp crust. If you use large chunks, you’ll end up with uneven browning.
The Secret Splash of Lemon
A teaspoon of fresh lemon juice added to the cream cheese mixture brightens the flavor and cuts through the sweetness. A friend tried skipping this step and found the dessert overly sugary. This tiny acid boost is the difference between good and unforgettable.
Creative Twists and Variations
This recipe is a playground. Here are some of my favorite ways to switch things up:
Chocolate‑Swirl Delight
Add ¼ cup of semi‑sweet chocolate chips to the cake mix before baking. The chocolate will melt into pockets of gooey bliss, perfect for anyone who can’t decide between chocolate and strawberry.
Lemon‑Berry Fusion
Swap half the fresh strawberries for raspberries and add the zest of one lemon to the cream cheese mixture. The tartness of the raspberries and lemon zest creates a bright, summery twist that’s perfect for brunch.
Nutty Crunch
Stir ½ cup of toasted almond slivers into the butter layer before adding the cake mix. The nuts add a satisfying crunch and a buttery depth that pairs beautifully with the strawberry glaze.
Vegan Version
Replace the cream cheese with a vegan cream cheese alternative, use a flax‑egg (1 tbsp ground flaxseed + 3 tbsp water) instead of the large egg, and choose a plant‑based butter. The texture will be slightly different, but the flavor still shines.
Spiced Autumn
Add a pinch of cinnamon and nutmeg to the cake mix and use canned pumpkin puree in place of half the strawberry filling. This version is perfect for a cozy October night.
Storing and Bringing It Back to Life
Fridge Storage
Cover the cooled cake tightly with plastic wrap or store it in an airtight container. It will keep fresh for up to 4 days. The cheesecake layer stays creamy, and the crust remains pleasantly crisp for the first two days.
Freezer Friendly
Slice the cake into individual portions, wrap each piece in parchment paper, then place them in a freezer‑safe zip‑top bag. Freeze for up to 2 months. When you’re ready to enjoy, let it thaw in the fridge overnight.
Best Reheating Method
Preheat the oven to 300°F, place a slice on a baking sheet, and add a tiny splash of water (about a tablespoon) around the edges. Cover loosely with foil and heat for 10‑12 minutes. The steam revives the crust’s crunch while the cheesecake layer becomes luxuriously soft again.