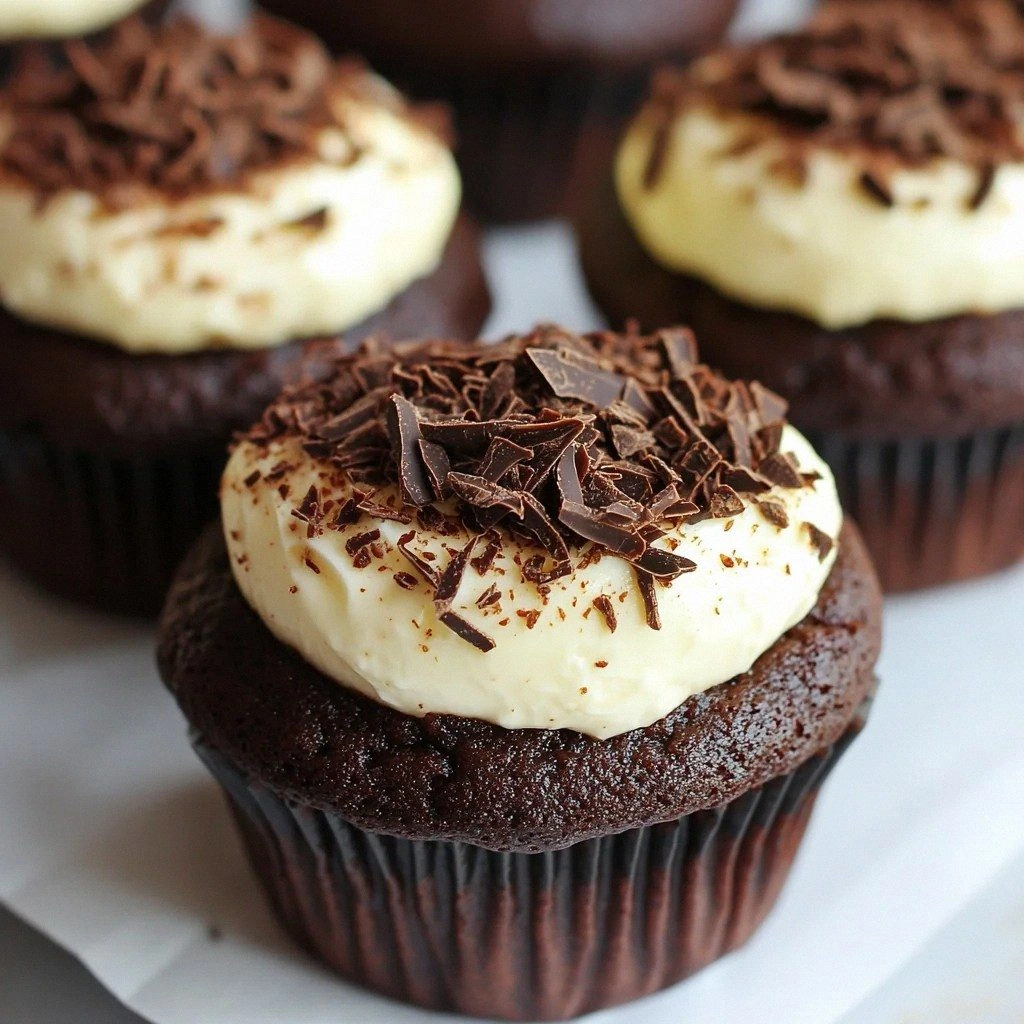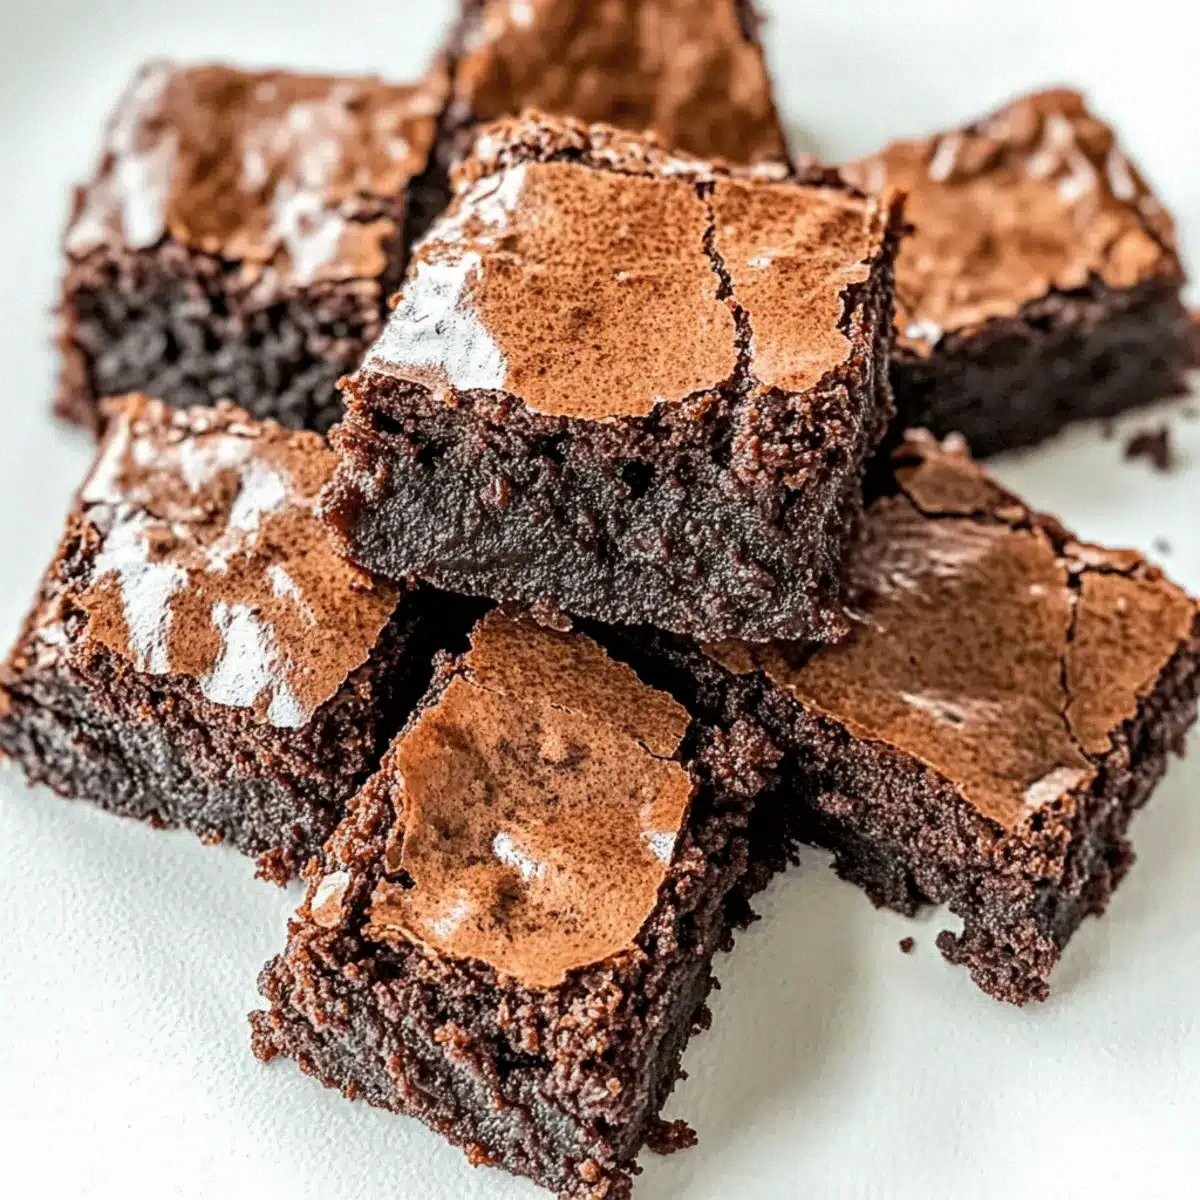
Picture this: it’s 11 p.m., the house is quiet, and you’re standing in front of an open fridge that looks like a barren wasteland of leftovers. You’ve just survived a week of kale smoothies and quinoa salads, and the only thing your brain can conjure up is something that feels like a hug wrapped in chocolate. I dared a friend to a midnight dessert duel, and she tossed me a half‑eaten packet of Greek yogurt with a smug grin. I thought, “What if I could turn this into a brownie that doesn’t make my conscience scream?” The result? A batch of brownies so fudgy they practically melt in your mouth, yet light enough that you can actually say “I’m good” without a side of guilt.
The moment the batter hit the bowl, the kitchen filled with the deep, earthy perfume of cocoa and the sweet whisper of melted chocolate. You could hear the faint hiss of the whisk as it coaxed the yogurt into a silky ribbon, and the whole scene felt like a chemistry lab where the only reaction you wanted was deliciousness. My fingertips tingled as I folded in the chocolate chips, each one a tiny promise of a burst of melty goodness. The batter was glossy, thick, and a shade darker than a moonless night—an omen that these brownies would be nothing short of legendary.
What makes this version truly stand out is the secret weapon: Greek yogurt. Most brownie recipes drown themselves in butter, but the tangy creaminess of yogurt cuts through the richness, giving you that moist crumb without the oil‑laden heaviness. It’s a game‑changer that keeps the brownies tender, adds a subtle tang, and boosts the protein content so you can brag about “guilt‑free indulgence.” Most recipes get this completely wrong—either they skimp on the chocolate or they overload on butter, resulting in a dry, cakey disaster. Not here. I’m about to hand you the exact method that turns ordinary pantry staples into a brownie masterpiece that will have you daring anyone to taste it and not go back for seconds.
And there’s a twist you won’t see coming: a splash of milk that creates a glossy, crackly crust that shatters like thin ice when you pull the pan out of the oven. This little trick is the difference between “good” and “hands down the best version you’ll ever make at home.” Okay, ready for the game‑changer? Let me walk you through every single step — by the end, you’ll wonder how you ever made it any other way.
What Makes This Version Stand Out
- Flavor: The combination of chopped chocolate and chocolate chips gives a double‑layered chocolate intensity that’s richer than any store‑bought mix.
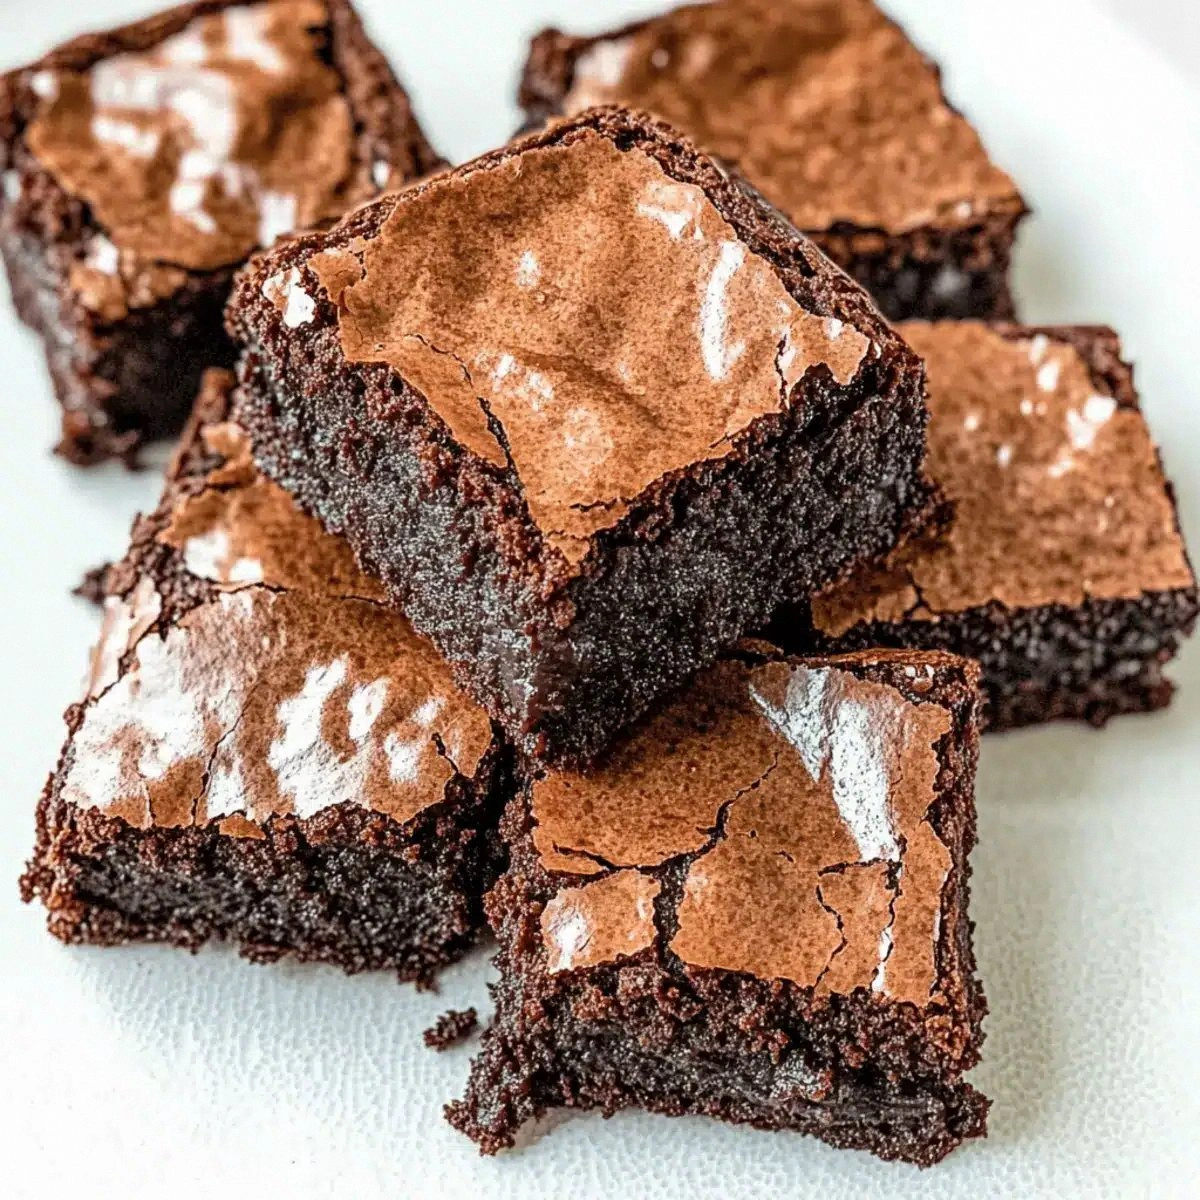
- Texture: Greek yogurt creates a fudgy interior with a slightly crisp, crackly top that pulls away from the pan like a perfect, glossy film.
- Simplicity: Only eight ingredients, all of which you probably already have, and no exotic equipment required.
- Uniqueness: Swapping butter for yogurt cuts the saturated fat in half while keeping the moist crumb you crave.
- Crowd Reaction: Even the most health‑conscious guests admit they can’t tell it’s “light,” and they’ll ask for the recipe twice.
- Ingredient Quality: Using high‑quality chopped chocolate ensures a glossy, melt‑in‑your‑mouth experience.
- Cooking Method: The “crackly crust” technique uses a brief high‑heat blast at the end of baking for that professional bakery finish.
- Make‑Ahead Potential: These brownies keep their texture for up to a week in the fridge and freeze beautifully for future cravings.
Alright, let's break down exactly what goes into this masterpiece...
Inside the Ingredient List
The Flavor Base
200 grams of chopped chocolate is the heart‑beat of these brownies. It’s the source of that deep, velvety richness that makes each bite feel like a small celebration. If you substitute with a lower‑cocoa bar, you’ll lose that intense flavor and end up with a sweeter, less complex profile. For a dairy‑free version, swap the chopped chocolate for a high‑quality dark chocolate that’s dairy‑free, but keep the cocoa percentage at 70 % or higher for that same depth.
The Texture Crew
Greek yogurt, at 200 grams, is the secret sauce that keeps the crumb moist without drowning the brownies in oil. Its natural acidity tenderizes the gluten in the flour, resulting in a tender, fudgy interior. If you skip the yogurt, you’ll get a dry, crumbly texture that’s more cake than brownie. As a swap, you can use sour cream or even a plant‑based yogurt with a similar fat content, but the flavor will shift slightly toward tangier notes.
The Unexpected Star
The 100 ml of milk may look like a filler, but it’s actually the catalyst for that crackly top. The milk adds a thin layer of steam during the final minutes of baking, creating a glossy surface that snaps when you cut into it. If you’re dairy‑free, use oat milk; just make sure it’s unsweetened so you don’t alter the balance of sweetness.
The Final Flourish
The 150 grams of flour provides structure, while the 50 grams of cocoa powder deepens the chocolate flavor without adding extra fat. Using a blend of all‑purpose flour and a touch of cake flour can make the crumb even softer, but be careful not to over‑mix or you’ll develop gluten and lose that fudgy texture. The 1 teaspoon of baking soda is the leavening hero that gives the brownies a slight rise, keeping them from becoming dense as a brick. If you’re out of baking soda, you can substitute ¼ teaspoon of baking powder, but the texture will be a bit more cake‑like.
Everything's prepped? Good. Let's get into the real action...
The Method — Step by Step
Preheat your oven to 175 °C (350 °F) and line a 20 × 20 cm (8 × 8 inch) square pan with parchment paper, letting the excess hang over the sides for easy lift‑out. While the oven heats, melt the chopped chocolate and half of the chocolate chips together in a heat‑proof bowl over a simmering pot of water, stirring until glossy. That sizzle when it hits the pan? Absolute perfection.
Kitchen Hack: Keep the bowl slightly off the water surface to avoid accidental steam burns and ensure a smoother melt.In a separate large mixing bowl, whisk together the Greek yogurt and sugar until the mixture lightens and the sugar begins to dissolve—about two minutes of vigorous whisking. You’ll notice the mixture turning a pale, creamy hue, and that’s your cue that the sugar is integrating.
Watch Out: Over‑whisking can incorporate too much air, leading to a cakey texture later.Fold the melted chocolate into the yogurt‑sugar blend, using a rubber spatula to create a thick, glossy batter. This is the moment of truth—if the chocolate isn’t fully incorporated, you’ll end up with streaks of bitterness. The batter should look like a dark, velvety river flowing in the bowl.
Sift together the flour, cocoa powder, and baking soda over the chocolate mixture. Gently fold until just combined; the key is to stop mixing as soon as you no longer see flour streaks. Over‑mixing at this stage will develop gluten, turning your brownies into a dense slab rather than a fudgy delight.
Stir in the remaining chocolate chips, reserving a tablespoon to sprinkle on top for that extra crunch. The chips should be evenly distributed, creating pockets of molten chocolate that will ooze out as you bite.
Pour the milk around the edges of the batter, then use a spatula to swirl it gently into the center. This creates a subtle marbled effect and, more importantly, sets the stage for the crackly crust that will form as the milk evaporates during the final bake.
Slide the pan into the preheated oven and bake for 20 minutes. At this point, the edges should start pulling away from the sides of the pan, and a faint aroma of toasted cocoa will fill the kitchen.
Kitchen Hack: Rotate the pan halfway through baking for an even rise and color.Reduce the oven temperature to 150 °C (300 °F) and continue baking for another 10‑12 minutes. This lower‑heat finish lets the interior set without over‑drying, while the milk on top creates that coveted crackly surface. When you see the top shimmering and the edges turning a deeper mahogany, you know it’s done.
Watch Out: Opening the oven door too early can cause the crust to collapse; trust the timer.Remove the pan and let the brownies cool in the pan for 10 minutes, then use the parchment overhang to lift them onto a wire rack. While they’re still warm, dust a light sprinkling of cocoa powder or sea salt if you like a sweet‑salty contrast. I’ll be honest — I ate half the batch before anyone else got to try it, and the rest still smelled like a chocolate dream.
That's it — you did it. But hold on, I've got a few more tricks that'll take this to another level...
Insider Tricks for Flawless Results
The Temperature Rule Nobody Follows
Most bakers swear by a single temperature, but the two‑stage bake is what gives these brownies their signature texture. Start high to set the crust, then drop the heat to let the interior finish gently. I once tried to bake them at a steady 175 °C for the full time; the result was a dry top and a gummy middle. Trust the dip, and you’ll get that perfect contrast between a crackly surface and a fudgy heart.
Why Your Nose Knows Best
If you can smell the toasty chocolate notes wafting from the oven, you’re at the perfect moment to check the edges. The aroma is a reliable indicator that the sugars are caramelizing just right. I’ve seen people rely solely on timers and end up with over‑baked brownies that taste more like a burnt biscuit than a decadent treat.
The 5‑Minute Rest That Changes Everything
Letting the brownies rest for five minutes after removing them from the oven lets the steam redistribute, sealing in moisture. Cutting too early can cause the brownies to crumble or leave a gummy center. This short pause is the secret that professional bakeries use to keep their products glossy and intact.
Chocolate Chip Distribution Trick
Instead of tossing all the chips into the batter, reserve a handful to sprinkle on top right before baking. As the brownies rise, those chips melt into a thin, crunchy layer that adds a delightful textural surprise. A friend tried skipping this step once — let’s just say the brownies were still good, but they missed that satisfying “crunch” at the first bite.
Cooling on a Wire Rack vs. Plate
Transferring the pan to a wire rack prevents the bottom from steaming and becoming soggy. If you leave the brownies on a solid surface, the residual heat can make the bottom too soft, ruining the contrast between the crisp edges and the soft middle.
Creative Twists and Variations
This recipe is a playground. Here are some of my favorite ways to switch things up:
Nutty Crunch
Fold in ½ cup of toasted walnuts or pecans with the chocolate chips. The nuts add a buttery crunch that pairs beautifully with the yogurt’s tang.
Espresso Boost
Dissolve one tablespoon of instant espresso powder in the milk before adding it to the batter. The coffee deepens the chocolate flavor, making it taste like a mocha‑infused dream.
White Chocolate Swirl
Replace half of the chocolate chips with white chocolate chips and swirl them into the batter for a marbled, sweet‑and‑creamy contrast.
Berry Burst
Gently fold in ¼ cup of dried cranberries or chopped dried cherries after adding the chocolate chips. The tart berries cut through the richness, offering a burst of flavor in each bite.
Spiced Delight
Add a pinch of ground cinnamon and a dash of chili powder to the dry ingredients for a warm, subtly spicy twist that’s perfect for cooler evenings.
Storing and Bringing It Back to Life
Fridge Storage
Place the cooled brownies in an airtight container and store them in the refrigerator for up to five days. The yogurt helps maintain moisture, so they stay soft and fudgy.
Freezer Friendly
Wrap individual portions tightly in plastic wrap, then place them in a freezer‑safe bag. They’ll keep for up to three months. When you’re ready to enjoy, let them thaw at room temperature for 20 minutes.
Best Reheating Method
Microwave a single brownie for 10‑15 seconds, or warm a slice in a preheated oven at 150 °C (300 °F) for 5 minutes. Add a tiny splash of water to the plate before reheating; the steam revives the crumb and restores that crackly top.