It was a rainy Tuesday night and I was staring at a lonely pot of chicken broth that had been sitting in the fridge for days, wondering what to do with it. My friend dared me to turn that bland stock into something that would make the whole house smell like a trattoria in Naples. I laughed, grabbed my skillet, and decided that this was the moment my kitchen would finally earn its stripes.
I remember the first sizzle as I tossed the diced chicken thighs into the hot pan. The aroma hit me like a warm hug—rich, savory, and utterly comforting. The sound of the meat searing, the gentle hiss of the onions, the subtle pop of garlic hitting the oil—all of it felt like a symphony of flavors. I could almost taste the final dish, the creamy broth swirling with herbs, the tender veggies, and that unmistakable Italian kiss of parmesan. The kitchen was alive, and I was the maestro.
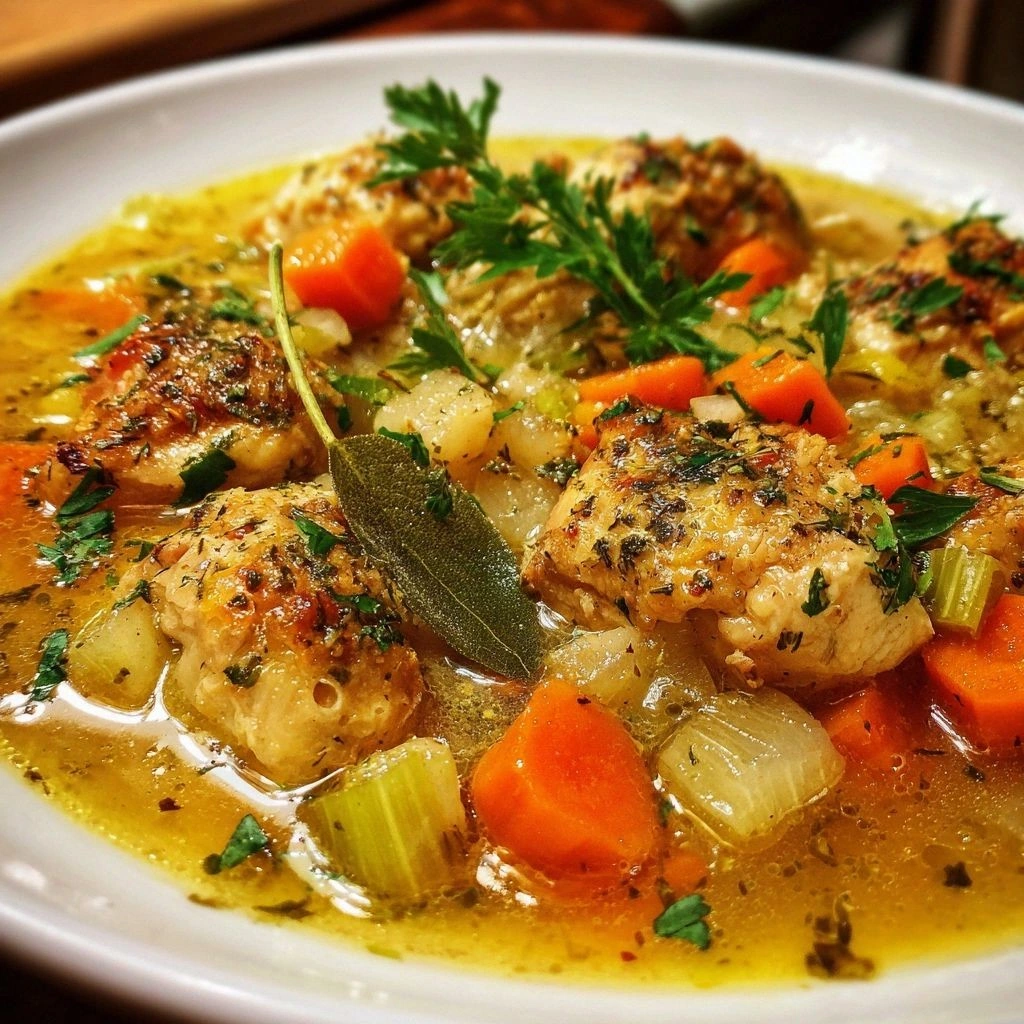
What makes this version of the Italian Penicillin Soup stand out isn’t just the ingredients; it’s the way they dance together. I’ve taken the classic comfort soup and given it a luxurious twist with heavy cream and a splash of parmesan that turns the broth into a silky sauce. The broth is simmered with bay leaf and oregano, infusing it with depth that most recipes miss. The result is a soup that feels like a hug in a bowl, yet is light enough to serve as a starter or a hearty main.
And the secret? A little trick I learned in a tiny Tuscan village: finish the soup with a dollop of cream and a handful of grated parmesan, then let it rest for a minute before serving. That final resting period allows the flavors to marry, giving you that velvety finish that makes the soup sing. I dare you to taste this and not go back for seconds; it’s that addictive. Let me walk you through every single step—by the end, you'll wonder how you ever made it any other way.
What Makes This Version Stand Out
- Richness: The use of boneless, skinless chicken thighs instead of breast adds a subtle fattiness that elevates the broth without overpowering it.
- Texture: Heavy cream and parmesan create a silky mouthfeel that coats the pasta like velvet.
- Herbal Depth: Bay leaf, thyme, and oregano give the soup a layered, aromatic profile that feels authentically Italian.
- Simple Prep: All the ingredients are ready to go in under 15 minutes; no pre‑soaking or complicated steps.
- Make‑Ahead Friendly: The soup keeps well and actually tastes better the next day because the flavors meld.
- Crowd‑Pleaser: Even the pickiest eaters love the comforting, familiar flavors with a gourmet twist.
- Versatility: Swap the chicken for turkey, or go vegetarian with tofu—this recipe adapts effortlessly.
- Balanced Nutrition: With protein, veggies, and a creamy finish, it’s a well-rounded dish that satisfies hunger and taste buds.
Alright, let’s break down exactly what goes into this masterpiece…
Inside the Ingredient List
The Flavor Base
Low‑Sodium Chicken Broth: It’s the canvas of this soup, providing a savory foundation without the excess salt that can overwhelm the herbs. Using a low‑sodium option gives you full control over the seasoning, letting the thyme and oregano shine. If you can’t find low‑sodium broth, just reduce the amount of added salt in the recipe and taste as you go.
Bay Leaf: One whole leaf might seem insignificant, but it releases a subtle, earthy aroma that permeates the entire pot. Leave it in while simmering, then remove before serving—its flavor is best when it has time to infuse, not when it’s eaten.
The Texture Crew
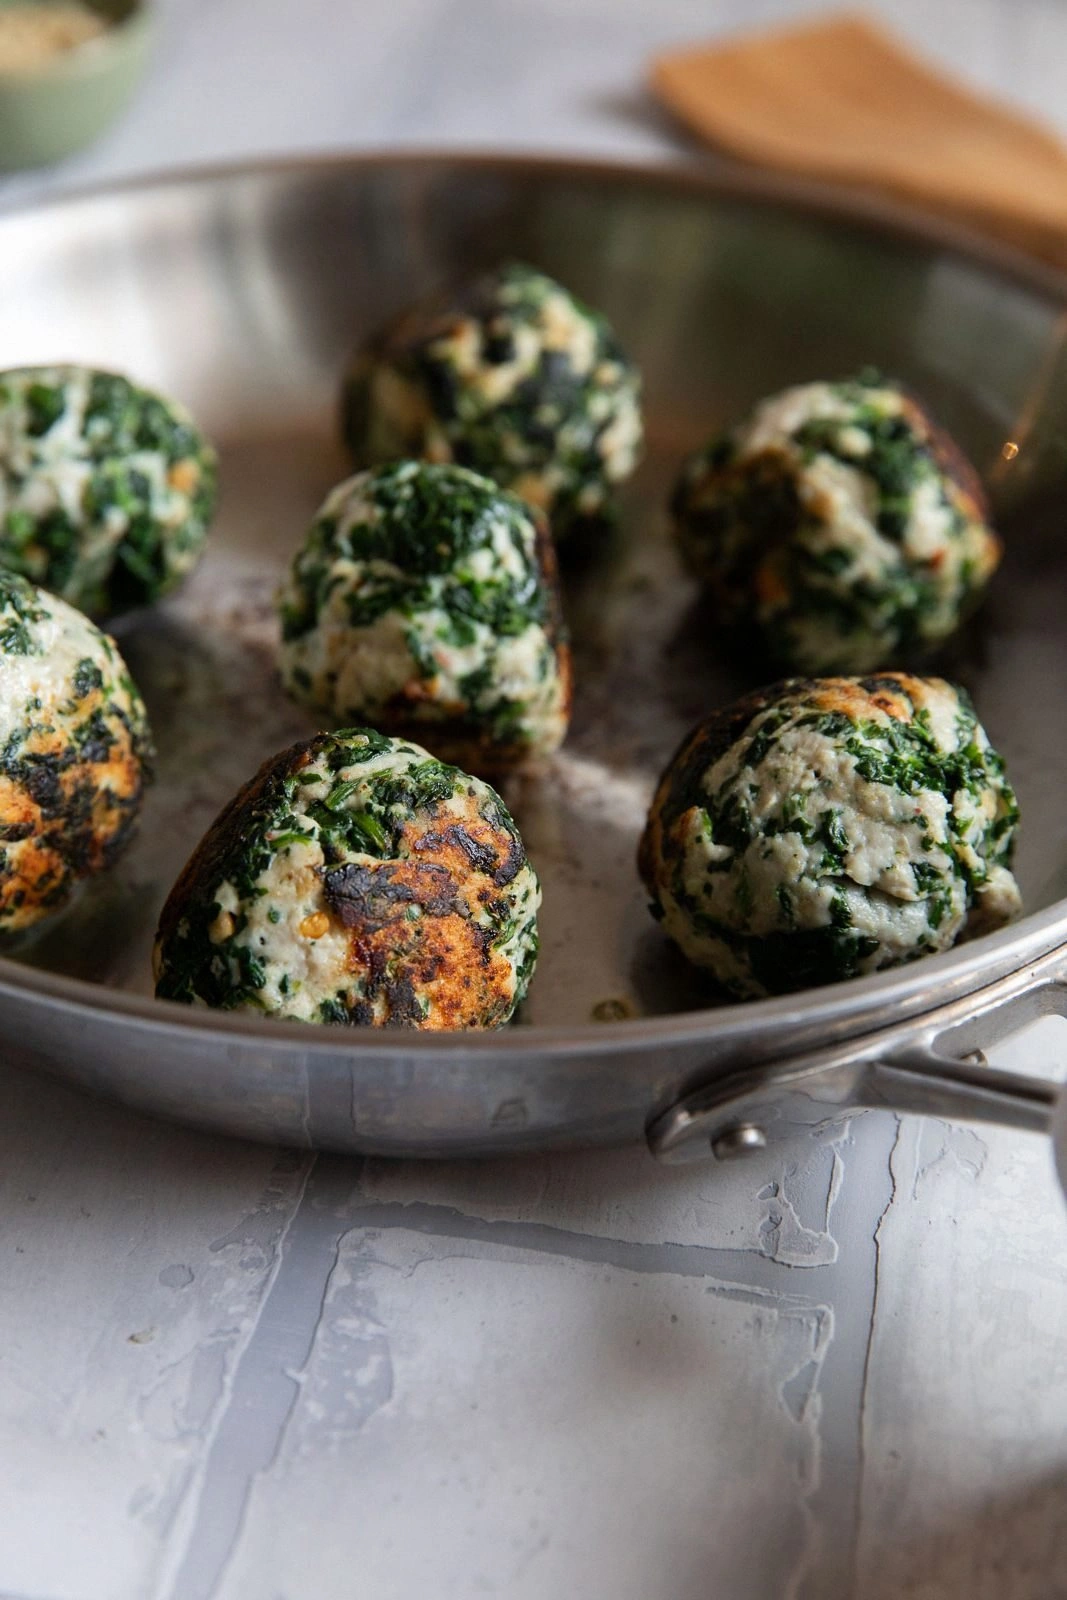
Chicken Thighs: The choice of thighs over breast is intentional. Thighs retain moisture, stay tender, and contribute a natural richness that balances the cream. Dice them into even pieces so they cook uniformly. If you’re a fan of leaner options, you can use breast, but you’ll need to watch the cooking time closely.
Carrots & Celery: These classic mirepoix components add sweetness, crunch, and a subtle bitterness that cuts through the cream. Dice them finely so they soften quickly and release their flavors into the broth.
Onion: A medium onion chopped into small pieces provides a sweet, aromatic base. Sauté it until translucent before adding the garlic; this builds a flavor foundation that’s hard to beat.
The Unexpected Star
Heavy Cream: The cream is what turns this soup into a luxurious, silky experience. It’s not just for texture; it carries the parmesan and herbs, creating a cohesive flavor profile. Use full‑fat cream for the richest mouthfeel; a lower‑fat version will still work but may feel slightly thinner.
The Final Flourish
Parmesan Cheese: Grated parmesan adds umami and a subtle nutty note that complements the herbs. Stir it in at the end to avoid clumping and to preserve its sharp flavor. If you’re vegan, you can use a high‑quality nutritional yeast for a similar depth.
Fresh Parsley: A handful of chopped parsley brightens the dish and adds a pop of color. Sprinkle it over the finished soup for a fresh, herbal finish that ties everything together.
Everything's prepped? Good. Let's get into the real action…
The Method — Step by Step
- Heat the Skillet: Place a large, heavy‑bottom pot over medium‑high heat. Add a splash of olive oil and let it shimmer. When it starts to lightly smoke, it’s ready. This step is crucial; a well‑heated pan ensures the chicken sears and locks in flavor.
- Sear the Chicken: Toss in the diced chicken thighs. Let them sit without stirring for 2–3 minutes so they develop a golden crust. Then flip them, letting the other side brown. This caramelization creates a depth of flavor that will carry through the soup.
- Build the Mirepoix: Reduce the heat to medium. Add the chopped onion, carrots, and celery. Cook for about 5 minutes, stirring occasionally, until the vegetables soften and the onion turns translucent. The aroma will fill your kitchen like a comforting hug.
- Garlic Time: Stir in the minced garlic and cook for 30 seconds until fragrant. Be careful not to burn it—garlic burns quickly and turns bitter. This short burst adds a punch of aroma that will linger in every spoonful.
- Deglaze and Simmer: Pour in the low‑sodium chicken broth, scraping up any browned bits from the bottom of the pot. Add the bay leaf, thyme, and oregano. Bring the mixture to a gentle boil, then reduce to a simmer. Let it cook for 20 minutes, allowing the herbs to infuse the broth fully.
- Introduce the Cream: Stir in the heavy cream slowly, swirling the pot to combine. The soup should look silky and slightly glossy. Let it simmer for another 5 minutes, watching for it to thicken slightly. This is the moment of truth—if it’s too thin, the cream will create a beautiful sauce.
- Cheese It: Fold in the grated parmesan until it melts into the broth, creating a smooth, velvety texture. The cheese should coat the surface like a delicate glaze, giving the soup its signature richness.
- Season & Finish: Remove the bay leaf. Taste and adjust salt and pepper to your liking. Sprinkle chopped parsley over the top. Let the soup rest for a minute before serving so the flavors can settle. This final step ensures the soup sings with every bite.
That’s it — you did it. But hold on, I’ve got a few more tricks that’ll take this to another level…
Insider Tricks for Flawless Results
The Temperature Rule Nobody Follows
Keep it low and steady: After adding the broth, let the soup simmer at a low temperature rather than a rolling boil. A gentle simmer prevents the cream from separating and keeps the broth from becoming too thin. I once let a soup boil and the cream curdled—lesson learned.
Why Your Nose Knows Best
Smell it often: The aroma is your best judge of doneness. When the broth is ready, it should smell like fresh herbs and a hint of garlic. If it smells too broth‑y, let it simmer a bit longer.
The 5‑Minute Rest That Changes Everything
Let it breathe: After you remove the pot from heat, cover it loosely and let the soup rest for 5 minutes. During this time, the flavors meld and the soup thickens slightly. It’s like giving the dish a short nap before the grand performance.
The Parmesan Trick
Grate it fresh: Use a microplane for the parmesan. Freshly grated cheese melts faster and blends seamlessly into the broth, giving you that silky finish without clumps.
The Resting Bowl
Serve in a pre‑heated bowl: Warm your serving bowls in the oven at 180°C for 5 minutes before ladling the soup. This keeps the soup hot longer and enhances the aroma.
The One‑Pot Wonder
Use a Dutch oven: A heavy pot retains heat better, ensuring even cooking. It also makes cleanup a breeze because everything stays in one place.
Creative Twists and Variations
This recipe is a playground. Here are some of my favorite ways to switch things up:
The Veggie‑Heavy Version
Swap the chicken for diced zucchini, bell pepper, and spinach. The result is a lighter, plant‑based soup that still delivers that comforting creaminess. Great for a quick weeknight dinner.
The Seafood Twist
Replace the chicken with shrimp or scallops. Sear them briefly before adding the broth. The seafood will cook quickly, giving the soup a luxurious, oceanic flavor.
The Spicy Kick
Add a pinch of red pepper flakes or a diced jalapeño. The heat will contrast the richness, creating a balanced, bold dish.
The Rustic Bread Bowl
Serve the soup in a hollowed‑out loaf of crusty bread. The bread soaks up the broth, turning each bite into a mini sandwich.
The Low‑Calorie Swap
Use low‑fat cream or a splash of coconut milk for a dairy‑free version. The flavor stays robust, but the calories drop noticeably.
The Gluten‑Free Option
Pair the soup with gluten‑free croutons made from almond flour bread. The crunch adds texture without compromising the dish’s integrity.
Storing and Bringing It Back to Life
Fridge Storage
Cool the soup to room temperature before transferring it to an airtight container. Store in the refrigerator for up to 3 days. The cream will settle slightly; give it a quick stir before reheating.
Freezer Friendly
Divide the soup into individual portions and freeze in freezer‑safe containers. It will keep for up to 2 months. Thaw overnight in the fridge before reheating.
Best Reheating Method
Reheat the soup over low heat, adding a splash of water or broth to loosen the consistency. Stir constantly until hot. A quick microwave can work, but be careful not to overheat and split the cream.
Now that you have everything, it's time to bring this masterpiece to life. Grab your skillet, follow the steps, and watch as the kitchen transforms into a trattoria. Trust me, you’ll be shouting “More, please!” with every spoonful.